Welcome, game creators! If you want to enhance your projects with audio but avoid writing code, you’ve found the perfect guide. Adding audio elements can transform your creation from silent to sensational.
This comprehensive walkthrough shows you how to integrate audio into your project without programming expertise. You’ll learn to implement interactive audio that responds to player actions. The process doesn’t require expensive software or technical skills.
Whether you’re building your first game or polishing an existing one, audio creates emotional connections with players. It provides essential feedback that makes gameplay feel responsive and engaging. These elements help players feel more immersed in your creative world.
We’ll cover everything from setting up your audio environment to troubleshooting common issues. By the end, you’ll have practical skills for background music, button clicks, character effects, and more. Get ready to create an immersive experience players will remember.
Key Takeaways
- Audio enhancement doesn’t require coding knowledge or expensive tools
- Interactive audio responds to player actions for better engagement
- Sound creates emotional connections and provides essential feedback
- Simple steps can have your game playing music and effects quickly
- Professional-quality audio implementation is achievable without code
- Troubleshooting common issues ensures smooth audio integration
- Complete audio environments can be set up in minimal time
Setting Up Your Audio Environment
Let’s dive right into the foundational elements of your game’s audio system. A proper setup makes adding and managing your audio much simpler. Think of this as preparing your workspace before you start creating.
Understanding Audio Clips and Sources
Game engines like Unity organize audio into two main parts. The Audio Clip is your actual sound file, like an MP3 or WAV. You import this file into your project.
The Audio Source is a component you attach to a game object, like a character or a button. It acts as the virtual speaker that plays the clip. This separation makes it easy to use the same sound in multiple places.
Your audio source component provides powerful controls. You can adjust volume, pitch, and stereo settings without any complex coding. This gives you fine-tuned command over how your audio behaves.
Selecting Quality Sound Files for Your Game
Great audio starts with great files. You have several options for finding clips. You can record original sounds with a microphone for a unique touch.
Many creators use royalty-free websites. Resources like FreeSound.org offer a vast library of effects. MusOpen.org is excellent for classical music tracks.
Always check the license before using any audio in your project. This is especially important if you plan to sell your game or show ads. Using royalty-free or Creative Commons files keeps everything legal and safe.
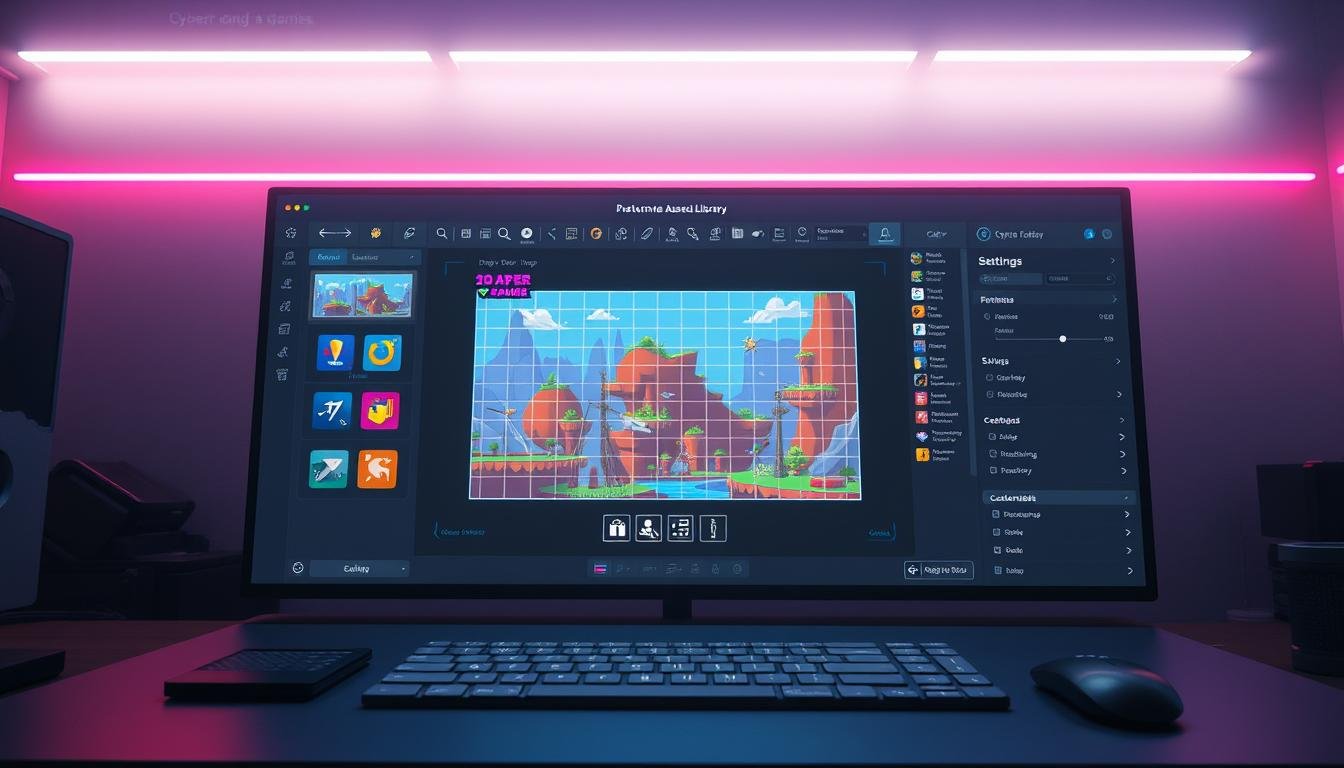
Mastering No-code sound effects Integration
Integrating audio into your project is easier than you might think. Visual platforms handle the complex work behind the scenes. This lets you focus on creative choices rather than technical details.
The process follows a logical flow that feels natural. You work with familiar drag-and-drop actions. Most platforms provide clear visual feedback at each step.
Simple Steps to Attach Audio to Game Objects
Attaching your audio files to interactive elements is straightforward. In Unity, simply drag your clip onto any game object. The system automatically creates the necessary components.
For Framer projects, insert an MP3 file into your button component. Set the source and adjust positioning settings. The platform understands you want audio to play during interactions.
Leveraging No-Code Tools for Quick Implementation
These platforms offer dedicated audio components that snap right onto objects. You get instant access to volume controls and trigger options. This eliminates the need for manual coding.
Different tools provide various implementation methods. Some use drag-and-drop interfaces while others have component panels. The key advantage is visual feedback throughout the process.
You can preview your audio without running the entire game. Adjust settings in real-time while observing the effects. Quick implementation happens through intuitive visual interfaces designed for creators.
Implementing Interactive Audio with Button Setups
When players interact with your game’s interface, audio cues provide essential confirmation of their actions. This immediate feedback creates a satisfying connection between input and response.
Configuring Button Components to Trigger Audio
Setting up button audio involves connecting click events to your audio source. Find the On Click panel in your button’s inspector window.
Add a new function by clicking the plus sign. Drag your audio-equipped game object into the empty box. Select ‘Audio Source’ from the function menu and choose ‘Play()’.
This visual approach eliminates complex scripting. Your button will now play the designated sound effect when clicked.
Adjusting Settings: Play On Awake and Loop Options
The Play On Awake setting controls automatic audio playback. Check this box for background music that starts immediately.
For button sounds, leave this box empty. The Loop setting determines continuous playback. Enable it for ongoing background music.
Disable looping for one-time effects like button clicks. Make sure to test your settings thoroughly for optimal performance.
Troubleshooting and Enhancing Your Game’s Audio
Even the most carefully planned audio setup can sometimes run into unexpected challenges. Knowing how to quickly identify and fix common issues will save you lots of frustration.
Most problems have simple solutions that don’t require technical expertise. You can resolve many issues with just a few clicks in your audio settings.
Identifying Common Audio Issues
If your audio plays when the project starts instead of when triggered, check the Play On Awake box. Unchecking this setting ensures sounds only play when you want them to.
Sounds that repeat endlessly usually have the Loop option enabled. Navigate to your audio source and uncheck the loop box for one-time effects.
When audio seems unusually loud or plays twice, you might have duplicate sources. Remove extra components by finding them in the inspector and using the remove function.
The Mute checkbox lets you temporarily silence audio without deleting your setup. This is helpful when testing different effects in your game.
Buttons can handle multiple tasks, but avoid attaching lots of sounds to one button. Instead, combine audio with visual changes like animations for better results.
Proper organization makes troubleshooting easier. Name your audio sources clearly to quickly identify specific components when issues arise.
Wrapping Up: Next Steps for Your Game’s Audio Journey
With these audio implementation skills under your belt, your creative possibilities have expanded dramatically. You can now build virtual instruments, interactive storybooks with narration, or enhance any project with engaging audio elements.
Think creatively about how audio elevates your work. Background music sets emotional tone while effects provide satisfying feedback. Buttons can handle multiple tasks—combining audio with animations creates richer experiences.
Build a quality collection of audio clips organized by category. Study professional examples like rauno.me for inspiration. Always verify you have proper rights to content before publishing, especially for monetized projects.
Continue learning through tutorials and community posts. Each project builds your intuition for what works best. Your journey into audio-enhanced creation has just begun—keep experimenting and surprising your audience!