Author: George Jones — PlayMobile.online
This short guide shows how to prove a single mechanic on real hardware in one afternoon. The goal is not to finish the project. You want to validate a core loop fast so you can change your mind the same day.
Create a clean project, add one touch-driven interaction, build to Android, feel the input, and flag performance issues before adding features. You will validate the loop on a device, not just in Editor.
Required package: Input System. Minimum scene: Camera, Player capsule, ground plane with collider. Add this script to the Player, assign the Camera, set moveSpeed.
using UnityEngine;
using UnityEngine.InputSystem;
public class TapToMove : MonoBehaviour {
  public Camera cam;
  public float moveSpeed = 5f;
  Vector3 target;
  void Update() {
    if (Touchscreen.current == null) return;
    if (Touchscreen.current.primaryTouch.press.wasPressedThisFrame) {
      Vector2 pos = Touchscreen.current.primaryTouch.position.ReadValue();
      Ray r = cam.ScreenPointToRay(new Vector3(pos.x,pos.y,0));
      if (Physics.Raycast(r, out RaycastHit hit)) target = hit.point;
    }
    transform.position = Vector3.MoveTowards(transform.position, target, moveSpeed * Time.deltaTime);
  }
}
After Build & Run check touch accuracy, frame rate, and device temperature after 2–3 minutes. Use a build-measure-learn approach: measure input feel and time-to-fun, not feature count. If the loop isn’t fun within 15 minutes, stop and change the hypothesis.
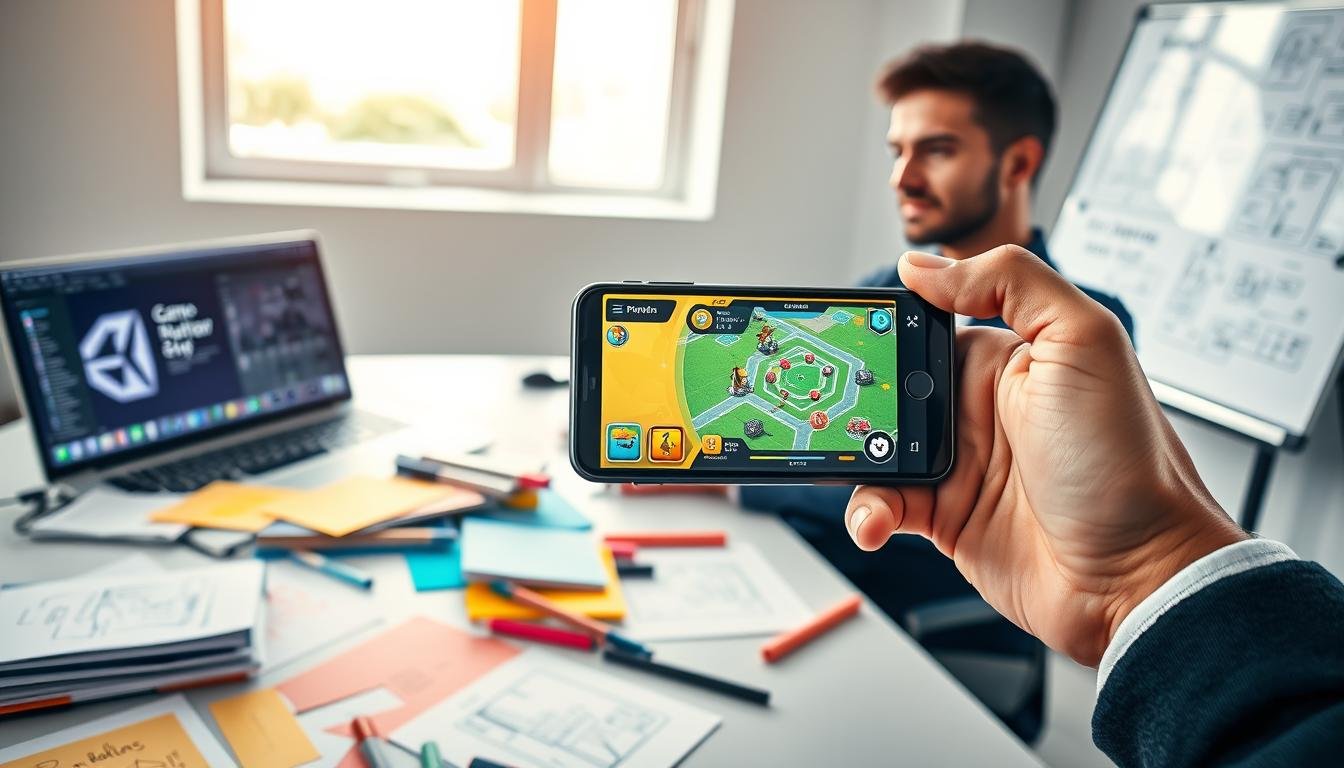
Build-to-phone in minutes with a tap-to-move prototype
Get a working tap-to-move player on a device quickly. Create a brand-new Unity project and use a prototype-friendly Assets layout: Scenes, Scripts, Prefabs, Materials, Textures, Fonts.
Install the Input System package first and confirm it is active. Drop the provided TapToMove script into Assets/Scripts and drag it onto the Capsule that will be your player.
Create the scene in five clicks
- Create Capsule (Player).
- Create Plane (Ground) — collider is built-in.
- Drag TapToMove script onto the Capsule.
- Assign the Main Camera to the script.
- Press Play in Editor once as a smoke check.
Editor checks are a smoke test. The real validation is Build & Run: File → Build Settings → Android → Switch Platform → Add Open Scenes → Build and Run. Verify USB debugging, device recognition, and correct build target.
- Phone checklist: does a tap register where your finger lands?
- Is movement consistent at 30 vs 60 fps?
- Does the screen notch or UI block input?
| Setting | Check | Action |
|---|---|---|
| USB Debugging | Device visible in Unity | Enable in developer options |
| Build Target | Android selected | Switch Platform |
| Input System | Package active | Install via Package Manager |
Reference Unity Build Settings and the Input System docs if something breaks. Don’t waste time clicking random options: if Build & Run fails twice, fix your environment before proceeding.
rapid prototyping Unity mobile, test game on phone Unity
Begin with the smallest playable loop that proves the idea fast.
Define the smallest playable loop you can measure in one session
Keep your loop to input → action → feedback → outcome you can time and score in five minutes. Aim to repeat that loop ten times in a row with the device in hand.
Capture quick metrics: time-to-first-success, mis-tap rate, fail rate, and average session length before boredom. Those numbers tell you if the gameplay feels clear to players.
Choose 2D vs 3D based on scope and expected device performance
Pick 2D if the hook is timing, aim, or tight UX. Two-dimensional prototypes iterate faster and usually run better across many different devices.
Choose 3D only if spatial depth is the core hook and you can hold 30–60 fps on mid-range phones. Remember: 75% of top mobile games are primarily 2D—this is a practical performance heuristic.
Decide what you will not build today to protect your timeline
Protect your afternoon by refusing work that doesn’t prove the loop. Do not add meta-progression, monetization SDKs, online services, or fancy shaders yet.
Use greyboxing: block out the scene, prove the feel, then replace placeholder content. Keep the input design resilient to different aspect ratios and touch latencies.
- Smallest loop definition you can measure in 5 minutes.
- Metrics to capture in one session: time-to-first-success, mis-tap rate, fail rate.
- “Won’t build today” list: no progression, no SDKs, no complex visuals, no networking.
| Decision | When to pick | Why it matters |
|---|---|---|
| 2D | UX/timing hooks | Faster iteration, lower performance cost |
| 3D | Spatial/depth hooks | Requires mid-range fps and more polish |
| Scope limits | Prototype session | Prevents wasted time and scope creep |
Unity setup that won’t waste your afternoon
Set up your development environment so Build & Run works the first time and you don’t waste your afternoon.
.
Install via Unity Hub with the right modules
Use Unity Hub to add Android Build Support and include SDK/NDK Tools + OpenJDK. This single selection prevents most build errors and gets you to a device fast.
Keep the install minimal: Editor + Android Build Support (SDK/NDK + OpenJDK). That is enough for most small projects and rapid iteration.
Android Studio vs Unity-managed SDKs
There are two workable setups. Unity-managed SDK/NDK is fastest and requires less configuration. Choose it when you want predictable builds without extra control.
Android Studio-managed tools give more control over SDK levels, build tools, and custom NDKs. Use this if you need specific API versions or advanced debugging.
Quick Android checklist and common failures to avoid
- Confirm SDK Platform Tools and required build-tools are installed.
- Verify ADB sees your device (adb devices) before building.
- Avoid mismatched SDK levels, missing NDK, or wrong JDK paths.
| Module | Why it matters | Action |
|---|---|---|
| Android Build Support | Enables APK/Bundle creation | Install with Unity Hub (SDK/NDK + OpenJDK) |
| Platform Tools | ADB and device communication | Install via Android Studio or SDK Manager |
| Device Drivers | Device must be visible to Editor | Enable USB debugging; verify with adb devices |
iOS reality check
You can prototype in Editor and on Android without Xcode. But real iPhone device builds require Xcode and a macOS machine.
Plan your afternoon: if you lack Xcode, focus on input feel and iteration with Android devices and Editor play. Reserve iOS device validation for when you have access to a Mac and provisioning set up.
Prototype faster with Unity tools you can throw away later
ProBuilder is ideal for same-day blockouts. You can create collision geometry, set scale, and test navigation without waiting for final art. That saves time and keeps the player experience focused.
Use visual scripting for temporary logic
Visual Scripting gets you playable fast. Build interactions with nodes, iterate quickly, and avoid early code churn.
Once the loop proves itself, rewrite performance-sensitive paths in C# to keep frame time stable and reduce memory overhead.
Asset Store rules that prevent tech debt
- Prefer simple meshes and small materials; avoid giant texture packs.
- Check licensing and isolate third-party assets in a dedicated folder you can delete.
- Reject high-poly models or uncompressed audio that cause stutters on many different devices.
| Tool | Best for | Why |
|---|---|---|
| ProBuilder | Level blockout | Fast collision and layout |
| Visual Scripting | Quick logic | Fast iteration, replaceable code |
| Asset Store | Bootstrapping | Speed with caution |
Keep a prototype kit with vetted packages and basic scripts. Studios and developers who do this start new projects faster and spend more time refining input feel and pacing for the game.
Touch input that behaves across screen sizes and aspect ratios
Solve touch edge cases now so players never blame the app for missed input.
Use the Input System for consistent touch handling
Standardize on the Unity Input System to get reliable pointer and touch events across devices. The official Unity documentation for the Input System and safe area handling is your single source of truth when behavior differs by vendor.
Preview notches and DPI with Device Simulator
Use the Device Simulator tool to spot UI hidden by notches, odd safe-area insets, and weird scaling on tall screens. Previewing avoids surprises that break player experience on real hardware.
For taps vs drags, pick a pixel threshold (e.g. 10–20 px). Treat a short press under that threshold as a tap. Larger movement becomes a drag. Test both gestures on actual devices during every testing pass.
- One-handed reach and thumb zones.
- Latency feeling on lower-end devices.
- UI clipped by safe area or scaled incorrectly.
| Check | Why it matters | Action |
|---|---|---|
| Input System active | Consistent touch across platforms | Enable package and follow Unity docs |
| Safe area | Prevents HUD overlap with notches | Apply safe-area padding to top/bottom UI |
| Gesture threshold | Reduces false taps and missed drags | Use 10–20 px and validate on devices |
| Iteration checklist | Player-facing feel affects retention | Run quick one-handed and latency checks |
Fast iteration loop on device
Treat each build as an experiment: change one variable, build, play for two to five minutes, and record what you saw. This keeps your development process focused and prevents scope drift.
Standardize a Build Settings preset for prototypes. Always include the scene you need, toggle Development Build when you need debug symbols, and pick the scripting backend that matches your goal.
Build Settings you’ll touch every time
- Scenes: add only the scene you are validating to shorten build times.
- Development Build: enable for logging, disable when you measure performance.
- Scripting backend: use Mono for fast iteration of code and IL2CPP when validating runtime performance.
Logging and lightweight on-screen stats
Use conditional logging and avoid per-frame Console spam. Write logs for state changes, not every Update call.
Add a tiny on-screen overlay that shows FPS and approximate memory. That gives immediate performance information without attaching the profiler.
Hot reload-style tweaks vs full rebuilds
Hot reload or domain reload tools are great for tweaking constants and UI. Use them for small iterations.
Run full Build & Run periodically to validate startup time, packaging, and real-device performance. Full rebuilds catch issues hot-reload misses.
| Action | When to use | Benefit | Cost |
|---|---|---|---|
| One-variable build loop | Every experimental change | Clear cause-effect results | More builds, but faster learning |
| Development Build | While debugging | Readable stack traces and logs | Lower performance vs release |
| Mono scripting backend | Logic iteration | Faster compile cycles | Not representative of release perf |
| IL2CPP backend | Performance validation | Accurate runtime behavior | Longer build times |
Done-for-the-afternoon checklist: stable build, repeatable input, no obvious memory spikes, and concise notes for tomorrow’s changes. Follow this loop and you will cut wasted time and get reliable results from real-device testing.
Mobile performance guardrails for prototypes
Keep a tight performance fence so your prototype proves design, not hardware limits.
Set guardrails, not perfection. Your goal is to avoid false negatives where the engine, device heat, or assets hide whether the loop is fun.
Draw calls: why a “simple” scene explodes on mid-range phones
Too many materials and unique shaders multiply draw calls. Each new material can force a separate GPU pass and drop frame rate on mid-range devices.
- Keep material count low and reuse shaders.
- Avoid full-screen transparency unless it is core to the design.
- Batch meshes and use atlases to reduce state changes.
Memory: textures, audio, and the first place crashes come from
Large textures and many unique files are the first culprits for crashes and slow loads. Use a small atlas set and compress audio for prototypes.
Keep a cap on texture sizes and limit distinct assets per scene. Crashes often start with spikes at load time, not steady-state play.
Battery and thermals: spotting builds that cook devices
Run a quick 5–10 minute play while feeling device warmth and watching FPS. If frame rate drops over time, treat it like a functional bug.
High GPU cost or continuous background work will make players uninstall fast. Use this check to decide whether visuals are acceptable for players or a costly part of scope.
URP on mobile: pick settings that scale down cleanly
URP is a practical engine choice for prototypes. Use simple lighting, disable expensive post effects, and set render scale conservatively.
| Guardrail | Prototype setting | Why it matters |
|---|---|---|
| Materials | 3–6 shared shaders | Reduces draw calls and GPU state changes |
| Textures | Atlases + max 512px | Limits VRAM and load spikes |
| Post | Off or minimal | Prevents thermal throttling and battery drain |
| Render scale | 0.7–1.0 | Balances clarity and frame rate |
Tie these checks to decisions: if your prototype requires heavy visuals to feel fun, you just discovered a core scope cost. That is useful data for design and engine choices before you invest more time.
Profiling with Unity’s tools before you add features
Start profiling early so you know which change broke performance before features pile up.
What to capture on device
Run the Profiler on devices and record a short session of real input. Capture CPU main thread time, rendering time, GC allocations, and any frame spikes during touch-heavy moments.
What to ignore for early work
Skip tiny micro-optimizations and editor-only metrics that don’t reproduce on devices. Focus on clear regressions, not noise.
When to use Memory Profiler and Analyzer
Use Memory Profiler + Memory Analyzer when you see spikes or crashes after new assets. Check textures and audio first; large imports show up as big heaps and retained objects.
Compare builds with Profile Analyzer
Use Profile Analyzer to compare before/after builds. A side-by-side view removes guesswork and speeds decisions during rapid iteration.
| Tool | Best for | Key capture |
|---|---|---|
| Profiler (Unity) | Live device sampling | CPU, Render, GC, frame spikes |
| Memory Profiler | Heap inspection | Texture/audio sizes, retained objects |
| Profile Analyzer | Build comparison | Before/after metrics and diffs |
Common beginner mistakes that slow prototyping and how to avoid them
Beginners often lose hours by keeping changes in Editor and never validating how touches feel on a real device. That habit hides input, performance, and thermal problems until they become blockers.
Testing only in Editor
If you only use the Editor you miss real touch latency, DPI quirks, and device thermal throttling. Habit: make a quick device build after meaningful changes. A two-minute play will catch big regressions fast.
Importing oversized assets as “temporary”
Bringing in giant textures or meshes to speed art iteration becomes permanent debt. Fix it: enforce import caps, compress textures, and keep an asset budget per scene.
Too many materials and shaders
Material and shader sprawl explodes draw calls and kills frame rate. Reduce impact by atlasing, reusing materials, and limiting transparency.
Overbuilding architecture
Don’t add generic frameworks, DI, or complex state machines before the loop is proven. Ship a thin slice you can delete, then refactor working code and scripts into robust systems.
- Corrective habit: one-device build per day for meaningful changes.
- Prototype budget: one scene, one input path, one camera, one movement script.
- Keep a running list of assumptions to verify next session.
| Mistake | Quick fix | Why it matters |
|---|---|---|
| Editor-only testing | Build to device same day | Catches real input and performance issues |
| Huge assets | Cap imports, compress | Prevents memory spikes and crashes |
| Shader/material sprawl | Atlas & reuse | Reduces draw calls and improves fps |
| Architecture overbuild | Thin slice first | Saves time and keeps focus on core design |
Testing across many devices without losing your mind
A tight device plan saves time and prevents false confidence when your prototype only works for you. Focus on a small, representative matrix and run the same quick checks each build.
Pick a small device matrix based on Android variety and iOS consistency
Use three targets: one low–mid Android, one mid/high Android, and one recent iPhone if available. Add a tablet only if your audience will use larger screens.
- Low–mid Android: checks RAM, weaker GPU, tall aspect behavior.
- Mid/high Android: ensures smooth frame pacing on better silicon.
- iPhone model: verifies safe area, DPI consistency, and thermal behavior.
What to check for every build: performance, UI fit, input feel, crash rate
- Input accuracy and responsiveness across screens.
- UI safe area, notch handling, and touch target sizes.
- Frame pacing (spikes), memory stability, and any crashes.
- Log device model, OS version, and short video clips of failures.
| Device class | Why it matters | Quick action |
|---|---|---|
| Low–mid Android | Reveals RAM and GPU limits | Measure FPS, heap, and input lag |
| Mid/high Android | Checks scaling and visual tradeoffs | Validate frame pacing and thermal drift |
| iPhone | Consistent hardware but varied safe areas | Verify safe area and touch targets |
Collect results in a simple spreadsheet with columns: device, OS, build ID, observed issues, and clip link. This keeps feedback actionable and prevents the prototype from being a one-device illusion.
Conclusion
Wrap up by confirming whether your core interaction actually reads well on real hardware. You should leave the session with a playable loop on your device, concise notes about input feel, and at least one performance snapshot that shows viability for game development on target platforms.
Keep the discipline: build small, measure on-device, then add features or services only after the loop proves itself. Tomorrow, pick one item from your notes — input tuning, camera framing, memory cap, or draw-call reduction — and run the same device check again.
Keep a reusable prototype template and record findings for players and audience research. If the loop fails in real play, you just saved weeks of work and reduced risk for studios and game developers.

Game developer with over 10 years of professional experience specializing in the mobile sector. George’s journey began with a passion for indie development, leading him to contribute to several successful mobile titles, including the critically acclaimed puzzle-platformer ChronoShift and the top-down strategy game Pocket Empires.