Welcome to your guide on bringing game interfaces to life. We will focus on two essential elements: progress bars and popups. These features provide crucial feedback and keep players engaged.
Dynamic interfaces are key for modern games. They transform static screens into responsive systems. This tells players what is happening clearly and instantly.
This tutorial shows you the entire process. You will learn to create smooth, professional effects. We use both visual tools and code for flexibility.
You can achieve great results without being an expert. We leverage built-in capabilities and powerful open-source tools. For example, the MIT-licensed Unity-AnimationUI library offers a visual editor and supports no-code workflows.
By the end, you will grasp practical techniques like coroutines and interpolation. These skills will add significant polish to any project, from mobile to console games.
Key Takeaways
- Engaging interfaces provide essential feedback and improve the player experience.
- Progress bars and popups are fundamental elements for communicating game state.
- You can create smooth motion using both visual editors and code-based approaches.
- Open-source tools can simplify the development process for developers of all skill levels.
- Mastering these techniques adds a layer of professionalism to any game project.
- Practical knowledge of interpolation and optimization is crucial for performance.
Introduction to Engaging UI Animations in Unity
Effective visual feedback systems separate amateur projects from professional games. These moving elements create intuitive experiences that players instantly understand.
Motion serves as a silent language between your game and the audience. It confirms actions and guides attention without distracting text.
Why UI Animations Matter
Static screens feel unresponsive and dated. Modern players expect interfaces that react to their input.
Movement provides crucial information about game state changes. It shows loading progress and interactive opportunities.
Well-timed effects create a sense of quality that players recognize immediately. They make even simple games feel polished and complete.
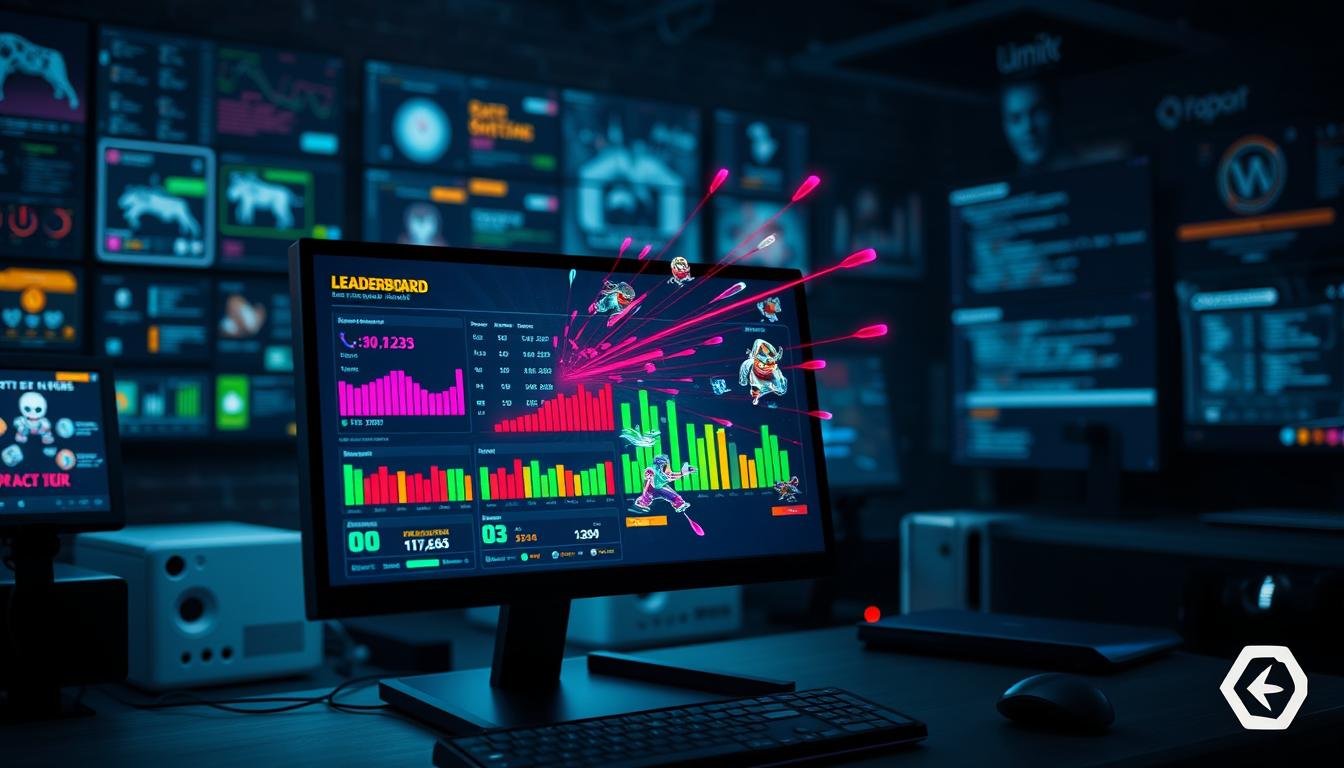
An Overview of Progress Bars and Popups
Progress bars communicate time-based processes in a clear way. They show loading states, skill cooldowns, and health regeneration.
Popups deliver information without cluttering the screen. They capture attention when rewards or alerts appear during play.
Both elements work together to create seamless experiences. They provide feedback exactly when players need it most.
Mastering Unity UI animations
When it comes to animating your game’s interface, you have several distinct methodologies at your disposal. The built-in Animator offers a visual, timeline-based editor. This is fantastic for quick prototyping and creating a demo without writing a single line of code.
However, this engine component was originally designed for complex character rigs. For simple interface tweening, it can be computationally heavy. It continuously updates parameters, even when values remain unchanged.
Script-based approaches using coroutines are far more efficient. They execute only when needed and stop completely after finishing. This avoids unnecessary overhead and is ideal for performance-critical projects.
Third-party options provide a great middle ground. The open-source Unity-AnimationUI library offers a visual tool with drag-and-drop support while maintaining code-level efficiency. Another popular choice is the LeanTween package, which handles both 3D objects and canvas elements.
Understanding when to use each method is the true key to mastery. Use visual tools for rapid iteration and code for optimized final builds. This foundation lets you choose the right path for your project’s needs.
Setting Up Your Unity Scene for UI Animation
A solid foundation begins with proper scene preparation before implementing any visual effects. Getting your environment ready ensures smooth implementation of dynamic interface elements.
Importing Required Components and Assets
Start by creating a Canvas object to contain all your animated elements. This main container serves as the parent for everything that moves on screen.
For progress indicators, you’ll need nested Image structures. A background image provides the base, while a foreground fill represents changing values. Popup systems require Panel containers with text elements and optional buttons.
Most visual effect techniques work across different rendering pipelines. Whether using Built-in, URP, or HDRP, your setup remains consistent. This compatibility saves time when switching projects.
Configuring the Scene for Smooth Transitions
Choose the right Canvas render mode for your needs. Screen Space Overlay works for standard interfaces. Screen Space Camera adds perspective effects. World Space creates immersive diegetic displays.
Proper organization makes animation implementation much easier. Use clear names for GameObjects and logical hierarchies. Set up component references in advance to streamline your workflow.
When importing assets, check version compatibility and dependencies. Modern tools support recent engine versions, ensuring your visual effects work as intended.
Implementing Coroutines for Non-Blocking Animations
To keep your game responsive during visual effects, you need to understand execution flow. Standard programming runs instructions one after another. This synchronous approach can freeze your entire project.
Imagine a two-second progress bar halting all sound and physics. This creates a terrible player experience. We need a better way to handle timed events.
Understanding Synchronous vs. Asynchronous Processes
Synchronous code executes tasks in a strict sequence. A long operation blocks everything else from running. This is not suitable for dynamic interfaces.
Asynchronous techniques simulate parallel processing. They break large tasks into small chunks. The game engine rapidly switches between them each frame.
This creates the smooth illusion of simultaneous action. Your progress bar can fill up while the game world remains active. It’s a fundamental shift in how you think about code timing.
Utilizing IEnumerators for Async UI Effects
In Unity, coroutines are the primary tool for this async behavior. They are built on IEnumerators, which are special iterable collections. Coroutines can pause their execution and resume later.
They use “yield return” statements to hand control back to the main game loop. A simple “yield return null” pauses for one frame. This allows for frame-by-frame updates without blocking other code.
This method provides excellent support for complex sequences. You can even call one coroutine from within another. Understanding this way the engine manages tasks is key to efficient, non-blocking visual effects.
Animating Progress Bars and Popups with Code
Let’s dive into the practical coding techniques that bring your interface elements to life. We will focus on creating smooth transitions using efficient code patterns.
This approach gives you precise control over every aspect of the motion.
Coding Fade Transitions and Lerp Functions
Tweening is the core concept behind programmatic movement. It calculates the values between a start and end point.
For a simple fade, you transition an element’s alpha channel. The Color.Lerp() function handles this interpolation perfectly.
You provide a start color, an end color, and a t-value between 0 and 1. The function returns the correct in-between color.
Your code increments the t-value over time using Time.deltaTime. This creates a smooth fade effect over a set duration.
Applying Tweening and Interpolation Techniques
The same logic applies to animating a progress bar. Instead of color, you interpolate a fill amount parameter.
You can combine multiple effects for more complex results. A popup can fade in while also scaling up for a polished appearance.
This method is highly efficient and forms the foundation for all kinds of dynamic interfaces.
Tips and Tools for Optimizing UI Animation Performance
Performance considerations are crucial when implementing dynamic interface elements in any project. Smart optimization ensures your visual effects enhance rather than hinder the overall experience.
Balancing Computation with Visual Quality
Human eyes naturally fill in visual gaps between states. This allows you to reduce update frequency significantly. Instead of refreshing every frame, try updating every 0.01 seconds.
The difference is barely noticeable to players. Yet this simple change dramatically reduces CPU load. It’s a smart trade-off between quality and efficiency.
When building a demo or example project, always profile your work. Use the built-in Profiler tool to identify performance bottlenecks. This component provides valuable data about computational impact.
The default animator engine creates unnecessary overhead. It continuously evaluates states even when parameters don’t change. Script-based approaches avoid this by stopping completely when finished.
Third-party options like LeanTween offer excellent support. They provide pre-optimized functions with minimal memory usage. This tool delivers professional results without complex implementation.
For broader device support, consider dynamic quality scaling. This technique adjusts complexity based on hardware capabilities. It ensures smooth performance across all target platforms.
Bringing It All Together for a Seamless User Experience
Complete scene transitions demonstrate the power of integrated visual effects. They combine fade-outs, loading operations, and fade-ins into one smooth sequence. This approach creates professional results that players appreciate.
You can build a practical demo using Unity’s SceneManagement package. Sync audio by adjusting volume parameters alongside screen fades. The same coroutine techniques work for both visual and audio elements.
Open-source tools provide excellent support for rapid development. They offer drag-and-drop interfaces with no-code workflows. This lets designers create animations while programmers focus on game logic.
Whether you choose code-based approaches or visual tools, both can achieve polished results. The key is selecting the right method for your team’s needs. Apply these techniques to create engaging experiences across all platforms.