Welcome to the exciting world of game creation! You can now bring your ideas to life without writing a single line of code. This makes Buildbox for beginners the perfect starting point for aspiring developers.
Focus on creativity instead of programming syntax. The visual interface eliminates traditional barriers that kept creative minds from entering the game development industry.
Buildbox gives you the power to design and build fully functional games. This comprehensive guide walks you through the entire process from start to finish. Even complete newcomers can achieve professional results.
Whether you’re a hobbyist exploring game design or an entrepreneur creating the next viral hit, this guide provides everything needed. You’ll get started on your game development journey today.
By the end, you’ll have created your first complete game with functional gameplay mechanics. You’ll build user interfaces and multiple scenes that demonstrate core principles of game creation. All this happens without any programming knowledge required.
Key Takeaways
- Create complete games without any coding experience
- Use visual tools to design gameplay mechanics and interfaces
- Build multiple scenes and professional-quality results
- Focus on creativity rather than technical programming skills
- Start your game development journey immediately
- Learn core principles of game design through hands-on practice
- Develop functional games from start to finish
Getting Started with Buildbox for Beginners
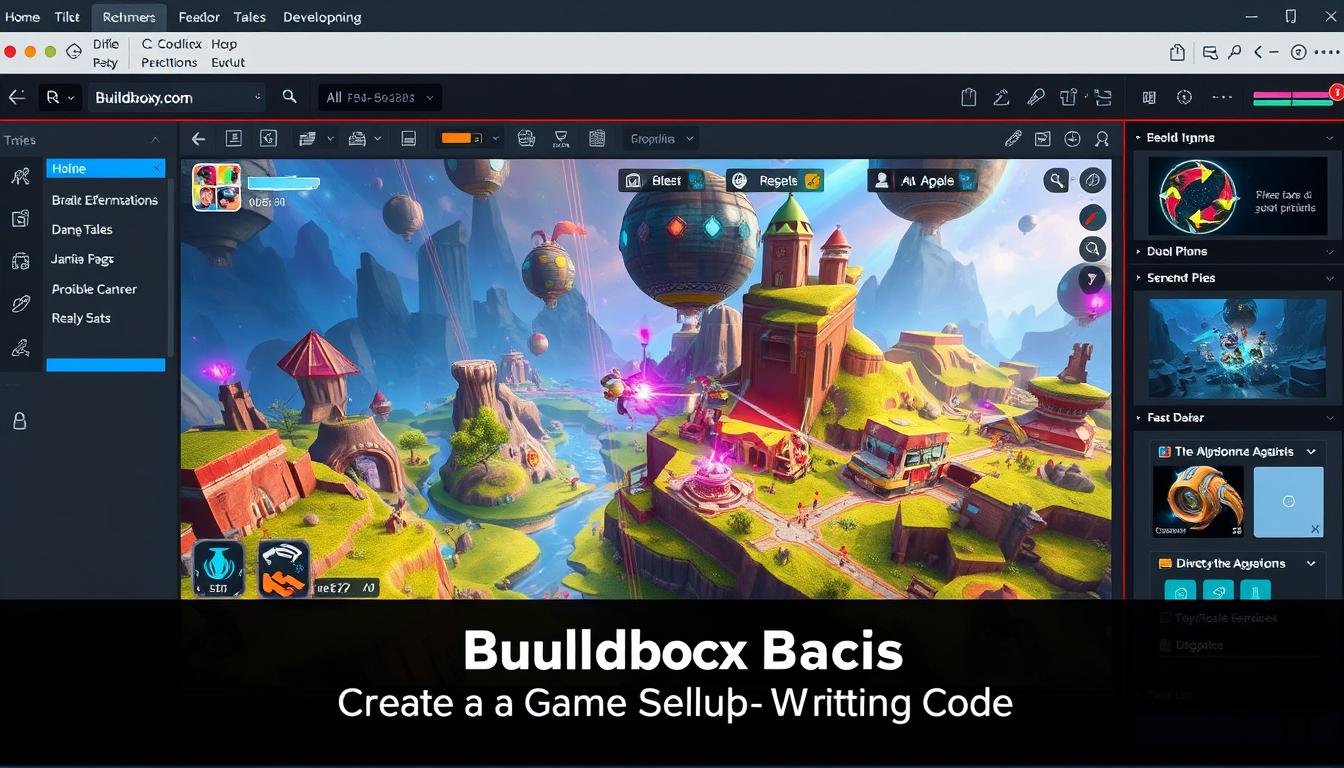
The initial screen greets users with a well-organized layout that simplifies navigation. This welcoming display serves as your central hub for accessing all essential features.
Overview of the Interface and Welcome Screen
On the left side, you’ll find the Buildbox pane. This area lets you create new projects or open recent ones. You can also view the latest news and announcements here.
The pane provides access to community resources. These include forums, Discord channels, and social media pages. This keeps you connected with other developers.
Navigating the Getting Started Tabs and Templates
The main display area features three essential tabs. Each tab offers a different approach to learning the software. This flexible system accommodates various learning styles.
The Templates tab shows prebuilt mini-games. You can explore these examples to see features in action. Hover over them for previews or double-click to load.
Interactive tutorials open new windows for hands-on learning. Video tutorials demonstrate functionality through visual guides. Both methods help you master the tools effectively.
The Updates tab ensures your software stays current. Check here for the latest releases and improvements. This maintains access to newest features.
Setting Up Your New Game Project
The real fun begins when you start building your own game from scratch. This section guides you through the initial setup process that transforms your ideas into a working project. You’ll learn how to create and configure your first game properly.
Creating and Saving a New Project
Begin by clicking Create New at the top left of the Getting Started screen. You’ll see various options for different game types ready for exploration. When making simple games, select Create 3D Game under the New Game option.
The software automatically loads a new project with two nodes on the Mind Map. This provides your starting foundation. Your project is now active and ready for configuration.
Configuring Project Settings and Orientation
Access the buildbox menu bar and select File > Project Settings. This opens the Project Settings window where you configure essential options. These settings define how your game functions across different devices.
Enter your game’s full name in the designated field. This establishes your creation’s identity. The Orientation drop-down list lets you choose between Portrait and Landscape modes.
Landscape orientation works best for platform-style games where horizontal movement is primary. After selecting your preferred options, click OK to confirm your settings.
Finally, save your project through the menu bar by selecting File > Save As. Choose a memorable location and filename. These initial steps establish the crucial foundation for your entire project.
Designing Your Game Scene and Assets
Now it’s time to shape the visual world of your game. This is where your ideas become a tangible environment. You will use powerful visual tools to build the stage where all the action happens.
Utilizing the Asset Library and Scene Editor
Your main workspace is the scene editor. This is your canvas for design. First, prepare your game’s foundation on the Mind Map.
Delete the existing 3D World node. Drag a new one to the right of the Start node. Connect them by dragging from the Start node’s Load output to the 3D World’s Load input.
Open the Asset Library from the Asset panel. You’ll find many pre-made objects. Double-click the Cube shape under Objects to add it to your project. This library saves you from creating basic shapes.
Building the Ground and Character Assets
Let’s create the ground. Select your new Cube. In its properties, set the Collision Group to Platform. Choose a color, like orange. Enable Physics and set the Type to Static.
Drag this asset into the scene editor. Set its Position to X:0, Y:-1, Z:0. Set its Scale to X:2, Y:1, Z:5. This creates a solid, stationary platform.
Next, build your main character. Drag another Cube object into the Characters category. Place it in the scene with Position values 0, 0.5, 0. Scale it down to 0.5 on all axes.
You can now see your character standing on the ground. Use the spacebar and mouse to orbit the camera. This gives you a full view of your new game world.
Implementing Gameplay Mechanics Without Coding
Bring your game to life by adding core gameplay mechanics that transform static scenes into interactive experiences. You’ll use visual tools to create movement, jumping, and challenge systems without writing any code.
Adding Movement, Jump, and Defeat Behaviors
Your character becomes responsive when you add Brain Box features. Click Add Brain Box in the options panel and select the Move box first.
Configure the Speed settings to make your character move automatically through the game world. Set Z axis to -10 for forward movement.
Add the Jump box next with Jump Force Y axis value of 10. This determines how high your character leaps when players tap the screen.
Connect the Collide output to the Jump node’s Reset input in the Node Map. This essential feature prevents infinite mid-air jumping by allowing jumps only when touching ground.
The Health Brain box introduces challenge to your game experience. Set Affected Attribute to Enemy to define defeat conditions.
Creating Interactive Obstacles and Collectibles
Design enemy assets with specific collision groups to create interactive obstacles. Make a Cone shape named Enemy with red color and Static physics.
Position these enemies strategically in your scene to challenge players. When your character touches them, the defeat behavior triggers automatically.
Add collectible items like coins from the Asset Library. Place them above enemies at position 0, 2, 0 to encourage risk-taking.
These reward mechanics make players master the jumping tool to reach higher platforms. Your game world becomes more engaging with these interactive features.
Enhancing Your Game with UI and Menus
Great games need clear navigation and feedback systems that guide users through the experience. These interface elements transform your creation from a basic prototype into a polished product that feels complete.
You’ll add essential screens that provide information and control options. This professional touch makes your game more engaging and user-friendly.
Constructing In-Game Score Displays and Navigation
Start by dragging a UI Screen node to your Mind Map next to the 3D World. Name it “In-Game UI” in the options panel.
Connect the 3D World node’s UI output to the In-Game UI’s Load input. This ensures your interface loads when the game starts.
In the UI workspace, position a Default Font label in the top-right corner. Name it “Score Display” and set its Function to Score.
Configure the Score Type to Points and Amount to Current. This creates a real-time score counter that updates as players progress.
Building Game Over and Main Menu Screens
Create a Game Over screen by adding a new UI Screen node. Connect it through the Event Observer logic from your In-Game UI.
Add labels for “Game Over,” “Best Score,” and “Current Score” with appropriate scaling. Position them for clear visibility.
Include a full-screen Navigation button with Function set to Restart. This allows players to quickly restart after defeat.
For your Main Menu, place a UI Screen node between Start and 3D World nodes. Add title labels and a “Tap to Play” prompt.
Cover the entire screen with a Navigation Button connected to the 3D World node. This creates a seamless entry point for users.
These menu designs require no coding but deliver the complete experience players expect. Your game now has professional flow between screens.
Exploring Advanced Tutorials and Buildbox Tools
Beyond the core features lies a wealth of educational content designed to accelerate your game development journey. These resources help you master complex techniques and discover hidden capabilities.
Video Tutorials and Interactive Learning
The platform offers two powerful learning methods. Video tutorials provide visual demonstrations organized by category like Tools and Gameplay.
You can easily find specific guidance when facing challenges. Each video series contains valuable tips from experienced developers.
Interactive tutorials create hands-on learning experiences. They open dedicated windows that guide you through complete projects step-by-step.
This approach helps you learn by doing rather than just watching. You gain practical skills that apply directly to your own games.
Discovering Additional Features and Software Updates
Regular software updates bring new capabilities to the platform. The Updates tab shows the latest releases and improvements.
Review release notes to understand new features and bug fixes. This ensures you always work with the most current tools.
Community spotlights showcase successful projects for inspiration. These examples demonstrate what’s possible when you master advanced techniques over time.
Wrapping Up Your First Buildbox Game Experience
You’ve now transformed your vision into a fully playable digital experience. This first game represents a significant achievement in your development journey. You’ve proven that creating complete projects requires no programming knowledge.
The process you followed demonstrates the power of visual development. Complex mechanics like physics and collision detection became accessible through intuitive menus. Your character now moves, jumps, and interacts with the game world seamlessly.
Remember there are multiple ways to accomplish tasks in this platform. Whether entering values directly or manipulating objects visually, you have flexibility. This design approach maximizes efficiency while reducing repetitive work.
Your completed project includes essential elements: platforms, obstacles, collectibles, and full menu navigation. Take time to practice and experiment with different options. This experience provides the foundation for more complex creations.
Consider developing your project further for publication. Review export settings and prepare necessary materials like a privacy policy. Your learning project can transform into a potentially successful release.