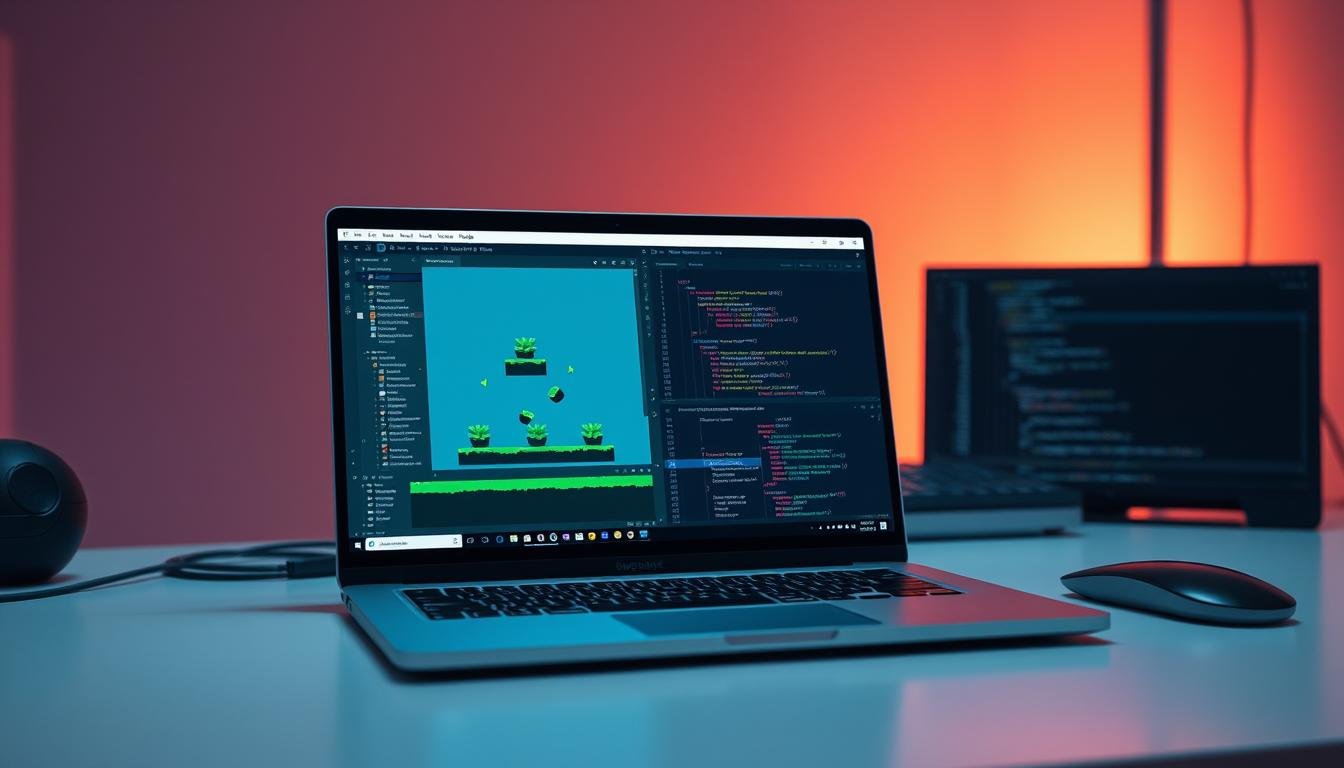
Welcome to this friendly guide where you’ll learn how to build your own beautiful 3D environments. We will explore the powerful terrain tools inside a popular game engine. This tutorial is perfect for anyone looking to expand their creative skills.
The engine we are using empowers creators to build interactive spaces for many platforms. You can make experiences for desktop, mobile, and even virtual reality. All of this is possible using the same core set of features.
This walkthrough will take you through every essential step. You will go from a blank project to a landscape with realistic features. We will cover sculpting land, painting textures, and adding life-like details.
You will discover how to leverage the terrain system to create hills, valleys, and forests. These elements will bring your digital space to life. By the end, you will have the foundational knowledge to confidently start your own project.
Key Takeaways
- Learn the core steps for building a 3D environment from scratch.
- Understand how to use the terrain tools for sculpting and painting.
- Gain the skills to add realistic elements like vegetation and water.
- Create a project that works across different platforms.
- Build a solid foundation for more advanced game development.
Introduction to Unity’s Capabilities and Terrain Tools
To build a landscape, you need the right set of tools, and this platform delivers them in one integrated package. The engine’s core strength lies in its component-based system. This approach lets you assemble reusable pieces of code and assets, making development efficient and organized.
Overview of Unity and Its Features
Since its initial release in 2005, this engine has become a top choice for developers. It is trusted by indie creators and major studios alike. Its key features include a powerful physics engine for realistic interactions.
A robust scripting system allows for custom behaviors. An extensive asset store provides a vast library of pre-built resources. These capabilities work together seamlessly.
Why Unity is Perfect for 3D World Creation
The platform’s versatility is a major advantage for crafting digital environments. It combines terrain tools, lighting systems, and physics simulations. This integrated environment is perfect for building immersive spaces.
Another significant benefit is cross-platform development. You can create interactive experiences for desktop, mobile, AR, and VR from a single project. This saves time and resources.
Developers also benefit from a large, supportive community. Extensive documentation and tutorials provide help at every step. Regular updates ensure your projects use cutting-edge technology.
Setting Up Your Unity Development Environment
A proper setup is the foundation for any successful creative project in game development. This phase ensures a smooth workflow from the very start. Let’s get your machine ready for action.
System Requirements and Installation Tips
First, download the installer for version 2021.3.2f1 or newer from the official website. The installation process is straightforward. Just follow the on-screen instructions.
Check the documentation for specific system requirements based on your operating system. This saves time and prevents performance issues later. Ensuring compatibility is a key first step.
Navigating the Unity Interface
When you first open the software, you’ll see a workspace divided into several panels. Each has a unique role in the development process. The main interface might seem complex, but it’s highly logical.
The Scene view is your canvas for building. The Hierarchy lists every object in your scene. The Inspector panel lets you change properties for any selected item.
Spend a few minutes exploring the menu and settings. You can rearrange panels and change color schemes. Customizing these settings creates a comfortable development space that fits your style.
Exploring the Unity 3D World Basics
Let’s dive into the core philosophy that makes building interactive spaces so intuitive. This approach revolves around a powerful and flexible method for constructing your projects.
Understanding the Component-Based Workflow
At the heart of this engine lies a component-based system. Think of every item in your scene as an empty container. You fill this container with different parts to give it purpose and behavior.
These containers are called game objects. They are the fundamental building blocks. You attach components like scripts, renderers, and colliders to these objects.
This modular design is a huge advantage. You can create a component once, like a movement code script, and reuse it on many different objects. This saves time and keeps your project organized.
Breaking your digital world into individual objects with specific roles makes everything clearer. It simplifies debugging and helps teams collaborate effectively. Different people can work on separate parts of the game at the same time.
Understanding how these pieces interact is key. It allows you to create a dynamic environment where objects respond to players and each other. This flexibility empowers you to build almost any type of interactive experience.
Managing Projects and Essential Unity Tools
Getting your digital space organized is the next critical step in your creative journey. A well-managed project sets the stage for efficient development and a smooth workflow.
This involves two key areas: handling your resources and building your scene elements. Mastering these tools early on will save you time and frustration.
Importing and Managing Assets
Every interactive experience needs resources like models, textures, and sounds. These are your assets. The engine provides a simple drag-and-drop system for bringing them into your project.
You can create your own custom asset or find pre-made ones in the vast online store. This library is a huge time-saver.
Once imported, keep everything tidy by using folders in the Project panel. Good organization makes it easy to find what you need later.
Creating and Manipulating Game Objects
The fundamental items in any scene are called game objects. You can start with simple shapes like cubes and spheres. These are your building blocks.
Use the toolbar’s transform tools to move, rotate, and scale these objects. Precise placement is crucial for creating an engaging environment.
Careful manipulation brings your vision to life. It turns a collection of items into a cohesive and believable space for players to explore.
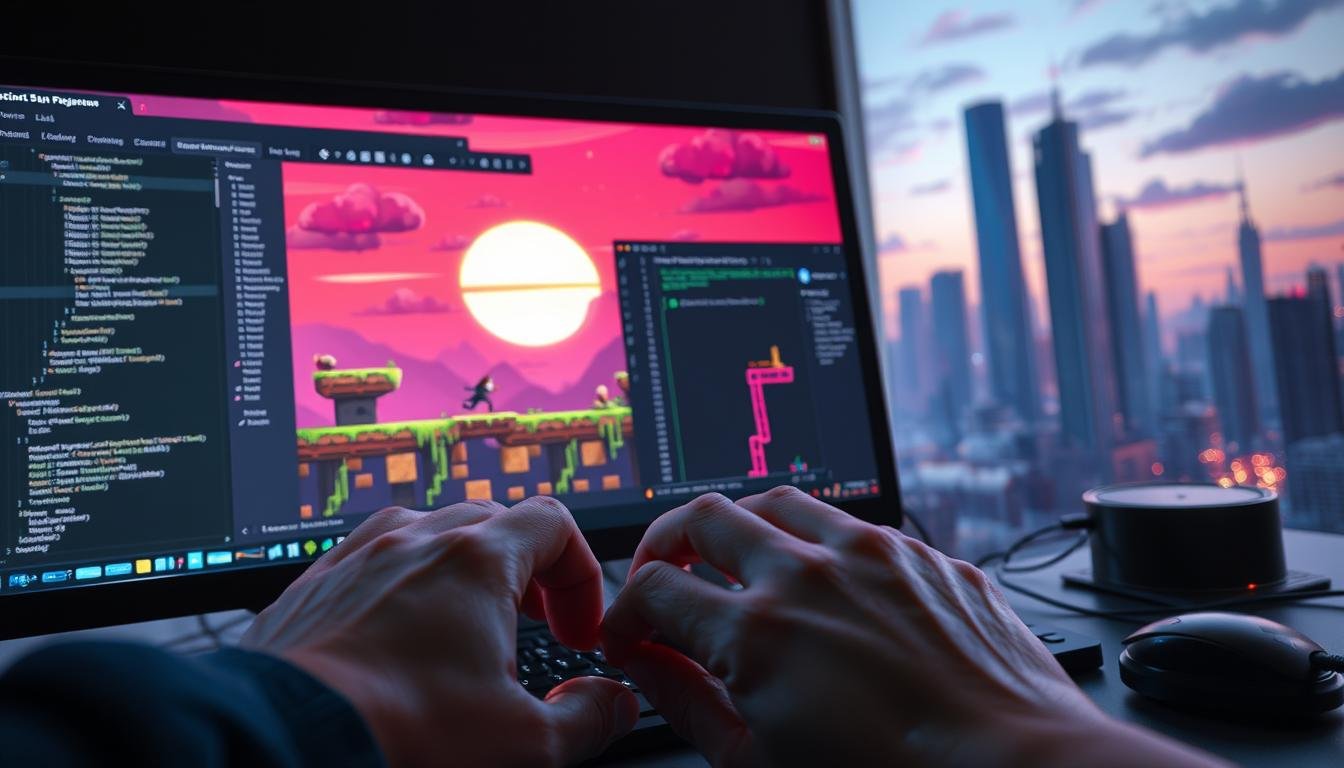
Enhancing Visual Appeal with Materials and Lighting Effects
Now that your scene has objects and structure, it’s time to bring it to life with color and mood. This stage transforms basic shapes into believable environments. The right combination of surfaces and illumination creates a powerful emotional impact.
Working with Materials, Textures, and Shaders
Materials and textures define how surfaces look and feel. They add color, detail, and realism to every object in your project. The material editor provides intuitive controls for perfecting these surfaces.
You can assign image files as textures to create anything from brick walls to grassy fields. Built-in shaders help you achieve complex visual effects like shiny metal or transparent water. Mastering these tools is key for a stunning result.
Implementing Dynamic Lighting and Shadows
Lighting dramatically shapes the atmosphere of your creation. A powerful system lets you simulate realistic light behavior. You can adjust the color, intensity, and position of light sources.
Shadows add crucial depth and make scenes feel grounded. Fine-tuning shadow quality and softness enhances realism. These lighting effects work together to build an immersive experience for your audience.
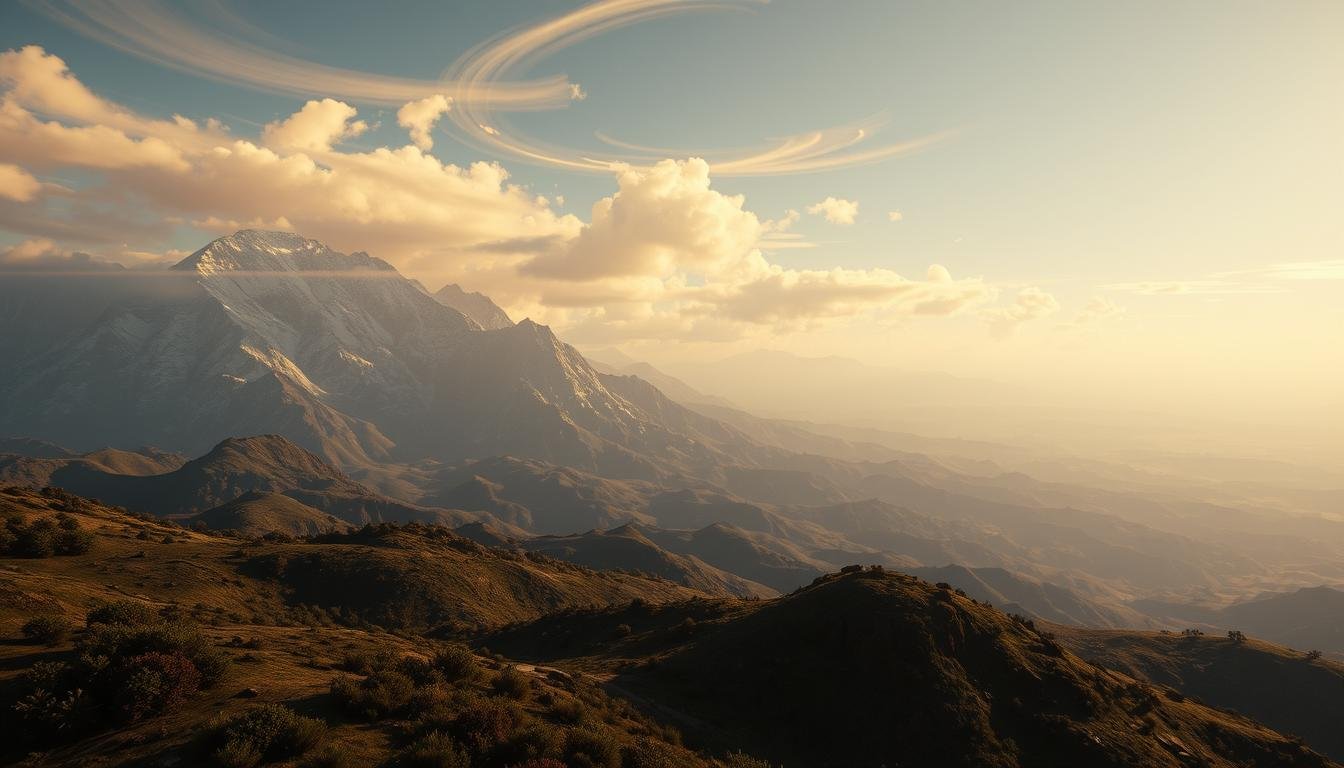
Sculpting Terrain and Crafting Interactive Environments
Creating believable outdoor settings starts with mastering the art of terrain manipulation and natural detailing. This process transforms flat surfaces into engaging landscapes that players can explore.
Designing and Sculpting 3D Terrain
The built-in terrain editor provides powerful brush-based controls for shaping your landscape. You can raise, lower, and smooth the ground to create mountains, valleys, and plateaus.
Consider your environmental theme when planning your terrain design. Desert scenes benefit from dunes and rock formations. Forest areas work well with rolling hills and gentle slopes.
Applying Textures and Adding Vegetation
Once your terrain shape is complete, painting tools let you add realistic surface details. You can blend multiple texture layers for grass, dirt, and rock surfaces.
The vegetation system makes it easy to populate your scene with trees and plants. Adjust density and wind effects to create dynamic, living environments that feel authentic to players.
Integrating Real-World Data Using Cesium and MapTiler
Take your project to the next level by integrating real-world geographic data for unparalleled realism. This approach lets you build environments based on actual locations with impressive accuracy.
You can create simulations, location-based games, and educational applications. These experiences blend reality with interactive digital spaces.
Installing and Configuring Cesium for Unity
Start by adding a scoped registry to your project settings. Use the URL https://unity.pkg.cesium.com with scope com.cesium.unity.
Install the package through the Package Manager under My Registries. This powerful plugin works with both URP and HDRP render pipelines.
Leveraging MapTiler and WMTS Overlays for Realism
Add real-world terrain by creating a 3D Tiles tileset. Change the source to ‘From URL’ and insert your MapTiler terrain URL with your API key.
WMTS overlays add photorealistic map textures. Configure the Web Map Tile Service component with your MapTiler WMTS URL.
Set your initial view using latitude, longitude, and height coordinates. This positions your camera at specific real-world locations.
Remember to protect your API keys before publishing. Explore both cloud-based and on-premise solutions for different project needs.
Boosting Your World with Advanced Visual and Code Effects
Elevating your project’s visual quality is the next exciting step in your creative journey. This involves harnessing powerful rendering tools and tailoring your workspace for maximum efficiency.
These advanced techniques can transform a simple scene into a stunning, professional-looking environment.
Creating High Definition Visual Effects and Shadows
The High Definition Render Pipeline (HDRP) template is your gateway to photorealistic results. It enables high definition graphics with features like volumetric fog and screen-space reflections.
Physically-based lighting and advanced shadow algorithms add incredible depth and realism.
You can also create custom effects using code or visual tools like Shader Graph. These tools let you build unique particle systems and post-processing effects without deep programming knowledge.
Always balance visual fidelity with performance. Fine-tuning shadow distance and resolution is crucial for a smooth experience.
Customizing Unity Asset Panels and Settings
A personalized workspace accelerates your workflow. You can drag and rearrange any panel to create a layout that suits your style.
This customization extends to the Inspector panel and other settings. Configuring these settings puts your most-used tools right at your fingertips.
Optimizing your unity asset management and editor settings saves valuable time. It lets you focus entirely on bringing your creative vision to life.
Utilizing a Wide Range of Tools and Assets for Game Development
One of the most powerful advantages in modern development is access to comprehensive asset libraries. These resources provide a solid foundation for building interactive projects efficiently. You can find everything needed for your creative workflow.
The platform’s marketplace serves as a treasure trove for creators. It offers thousands of pre-built components that dramatically accelerate timelines. This approach lets you focus on unique aspects of your project.
Exploring the Unity Asset Store for Quick Development
You’ll discover a wide range of resources covering every aspect of game development. These include models, textures, audio files, and complete systems. Both free and paid options are available for different needs.
Leveraging these tools allows you to use professionally created assets for common elements. This saves significant time during the development process. The quality ranges from beginner-friendly to commercial-grade.
Integrating Custom Assets for Unique Experiences
While marketplace resources provide excellent starting points, custom assets ensure your project stands out. They help maintain consistent art direction and branding. This combination represents the optimal approach for most projects.
Custom creations allow you to build distinctive interactive experiences. They align perfectly with your creative vision. The platform continuously updates with new tools and features for cutting-edge results.
Optimizing Performance and Preparing for Cross-Platform Deployment
The true test of any interactive application comes when it runs efficiently on various hardware. Getting your creation ready for different platforms requires careful attention to performance and compatibility.
This final stage ensures players enjoy smooth experiences regardless of their device. Proper optimization makes your work accessible to the widest possible audience.
Fine-Tuning Settings for Performance Efficiency
Performance optimization is essential for maintaining consistent frame rates. You’ll need to balance visual quality with smooth operation across different systems.
The built-in profiler tools help identify where processing time is spent. Adjust texture resolutions and polygon counts to optimize your project. These settings dramatically impact how your games perform on various hardware.
Ensuring Compatibility on Mobile and Desktop
Mobile devices require special consideration due to limited resources. Reduce polygon counts and use optimized shaders for better performance.
Testing throughout development saves valuable time by catching issues early. Quality settings presets automatically adjust graphics based on the player’s device.
This approach ensures your project delivers excellent experiences on both mobile and desktop platforms. Proper optimization maximizes your potential audience for all types of games.
Wrapping Up Your 3D World Design Journey
You’ve reached the end of this guide, and what an impressive journey it has been. You now possess a solid foundation for professional game creation. The skills you’ve learned are the building blocks for any project you can imagine.
You understand how to navigate the hierarchy and scene views. You can position any object with precision. This knowledge allows artists and developers to collaborate seamlessly.
The environments you’ve created are just the start. Your first project is a significant achievement. Feel proud of what you’ve accomplished.
Continue to experiment and build upon this knowledge. Every great game begins with these essential steps. Your creative journey is only just beginning.