Creating a great game experience starts with how players interact with your world. Smooth and responsive controls are the foundation of fun gameplay. This is especially true for smaller, precise mechanics where every action counts.
The way developers manage these interactions has evolved significantly. Modern tools offer a more powerful and flexible approach compared to older methods. This guide explores the shift to a contemporary input system within a leading development environment.
You will learn why upgrading your approach is crucial for today’s multi-platform titles. We cover practical steps for setup and configuration. The focus is on building a robust architecture that works across keyboards, gamepads, and touchscreens.
Mastering these skills allows you to create engaging and polished experiences. Your players will appreciate the seamless control you provide.
Key Takeaways
- Responsive controls are critical for player satisfaction in small-scale game features.
- Modern input systems offer significant advantages over legacy solutions.
- Proper setup ensures your game works seamlessly across various devices.
- An event-driven architecture improves performance and organization.
- Learning these techniques helps build maintainable and scalable projects.
- Precise input handling directly impacts the quality of interactive mechanics.
Introduction to Handling Player Input for Small Game Mechanics
At the heart of every digital interaction lies the critical translation of physical commands into virtual outcomes. This process forms the essential bridge connecting human intention with software execution. Regardless of artistic style or narrative complexity, this fundamental requirement remains constant across all interactive projects.
Small-scale features like character movement and menu navigation demand precise detection and immediate feedback. These micro-interactions create the satisfying loops that keep users engaged. Responsive controls transform simple actions into polished experiences.
Contemporary development must accommodate diverse control methods simultaneously. Traditional keyboards coexist with modern gamepads and emerging technologies. The challenge involves creating flexible architectures that scale with project complexity.
Effective implementation directly influences user satisfaction. Even minor delays can disrupt immersion and frustrate audiences. Investing in robust architecture provides long-term benefits for maintainable projects.
This foundation prepares developers for professional-grade solutions. Understanding these universal principles helps appreciate why proper system design yields significant returns across different application types.
Understanding Unity’s Input Systems
Game developers have two primary paths for managing player commands within the engine’s framework. The traditional route uses the legacy input manager, a long-standing feature. The modern alternative is the powerful new input system package.
This choice fundamentally shapes your project’s flexibility and future-proofing.
Legacy Input Manager vs. New Input System
The old input manager relies on a polling-based method. Scripts constantly check for key presses or axis movements within the Update() function. This way of working is simple for quick tests.
However, it tightly binds specific keys to in-game functions. Changing controls later becomes difficult. It also prevents players from customizing their own schemes.
Benefits of a Modular Input Approach
The new input system uses an event-driven architecture. It creates a layer of abstraction between the physical device and the game logic. This layer is built around customizable actions.
An action, like “Jump,” can be bound to a keyboard key, a gamepad button, or a touchscreen tap. The game code only needs to respond to the “Jump” action, not the specific device.
This modular system simplifies supporting multiple control types. It enables player rebinding and keeps code clean and scalable for larger projects.
Why Upgrade to the New Input System
Developers choose the new input system for its superior cross-platform support and efficient event-driven architecture. This modern approach solves critical problems faced in today’s multi-device landscape.
The initial setup requires more effort than the old manager. The long-term benefits, however, are substantial for any serious project.
Enhanced Cross-Platform Support
Reaching players on different platforms is easier than ever. The new input system automatically recognizes a wide range of controllers.
It supports Xbox, PlayStation, and Nintendo Switch Pro controllers out of the box. The same action can be tied to a keyboard key, a gamepad button, or a touchscreen tap.
This eliminates the need for complex, device-specific code. Your game becomes inherently more accessible to a broader audience.
Improved Performance with Event-Based Actions
This system uses an event-driven model instead of constant polling. Code only runs when a player actually presses a button or moves a stick.
It does not waste resources checking for input every single frame. This efficiency is crucial for complex scenes with many interactive elements.
Performance gains are most noticeable in multiplayer titles or projects with extensive control schemes. The event-based model is a smarter way to manage player commands.
Overview of input handling mechanics unity
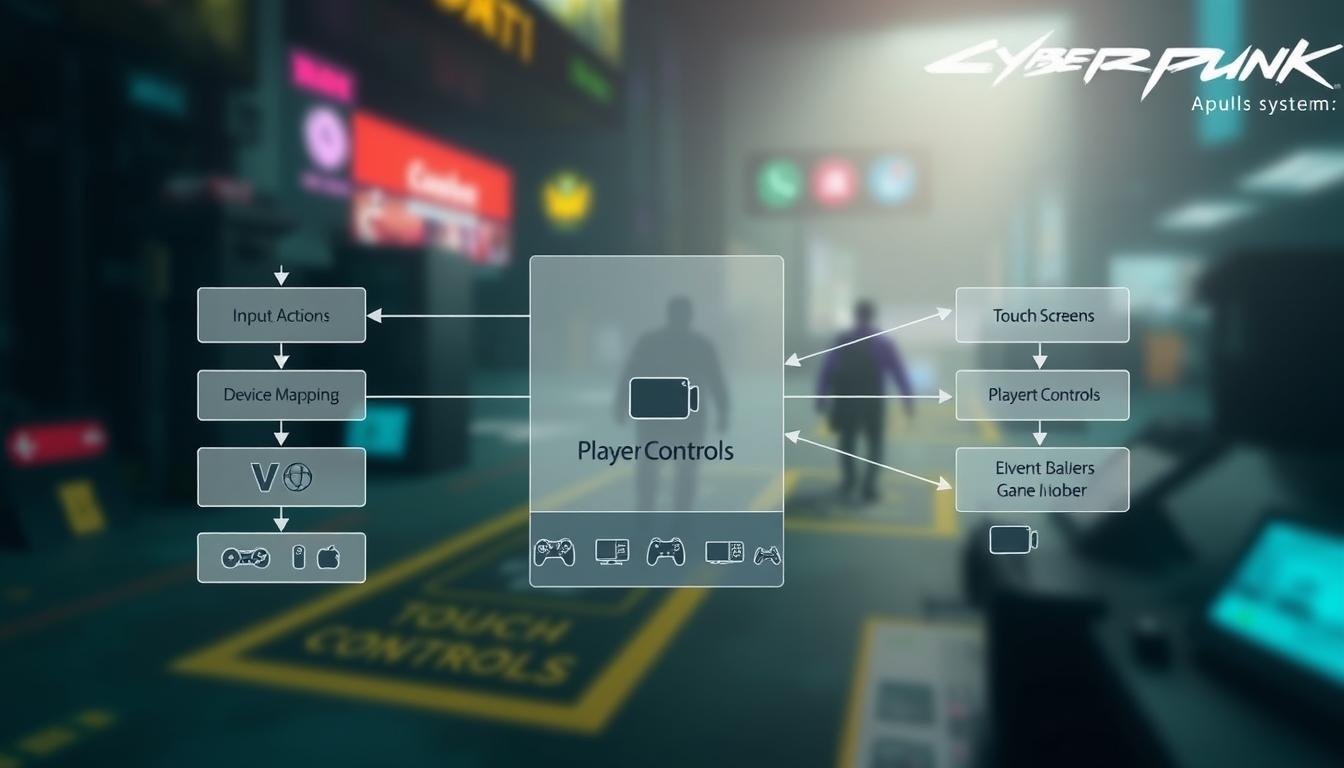
A fundamental shift in control design focuses on what players want to achieve rather than how they press buttons. This approach centers on abstract actions representing player intentions like “Jump” or “Move.”
These abstract actions connect to physical devices through binding configurations. A single action can map to keyboard keys, gamepad buttons, or touchscreen taps. This separation provides remarkable flexibility for different control schemes.
Action Maps organize related input actions into logical groups. Developers create separate maps for gameplay versus menu navigation. This organization keeps the control system clean and manageable.
The entire configuration lives in Input Action Assets. These assets serve as the central hub for defining all controls. Unity’s visual editor makes setup intuitive and generates necessary code automatically.
Understanding the hierarchy is crucial for effective implementation. Assets contain Maps, which contain Actions, which contain Bindings. This structured approach scales well for complex projects.
The Player Input component bridges these assets to actual game objects. It routes events to appropriate scripts and manages multiplayer scenarios. This overview establishes the foundation for practical implementation in later sections.
Installing the Input System Package
Before configuring advanced control schemes, developers must first integrate the foundational package that enables event-driven architecture. This initial setup is crucial for accessing the modern features discussed in previous sections.
The process begins with ensuring your development environment meets the necessary requirements. Proper preparation prevents compatibility issues during implementation.
Installation via Package Manager
Unity’s centralized package manager provides the gateway to adding new functionality. Navigate to Window > Package Manager to access this interface.
Select the Unity Registry view to see all official packages. Search for “Input System” and click the Install button. The system package will download and integrate into your project.
After installation completes, Unity prompts you to restart the editor. This step applies the configuration changes needed for the new framework.
Verifying Unity Version Compatibility
The contemporary control framework requires Unity 2019.1 or newer. Using the latest stable version ensures access to recent features and fixes.
Confirm successful installation by returning to the Package Manager. Switch to the “Packages: In Project” view and verify the input system package appears in the list.
This verification step ensures all components are properly integrated before proceeding to asset creation.
Creating an Input Action Asset
The first practical step in configuring the new system is generating the central configuration file. This file, known as an Input Action Asset, acts as the hub for all your control definitions.
Creating this asset follows a familiar workflow within the engine. Navigate to your Project window, right-click in the desired folder, and select Create > Input Actions.
Assign a clear and descriptive name to the new file, such as “PlayerControls”. This helps with organization, especially in larger projects with multiple control schemes.
Double-clicking the newly created .inputactions file opens the dedicated Input Actions editor window. This specialized interface is where you will define all your player actions and their bindings.
The visual editor streamlines the entire setup process. It eliminates the need for manual JSON editing or writing extensive code for common tasks. This approach significantly accelerates development.
This asset serves as the cornerstone for a robust control architecture. It stores every action, binding, and control scheme in one human-readable JSON file. This centralization is perfect for team collaboration.
Defining Action Maps and Action Bindings
Action maps serve as the organizational backbone for creating coherent and context-sensitive control systems. They provide the structure needed to manage different gameplay states effectively.
Understanding Action Maps
An action map groups related behaviors into logical collections. Think of it as a folder containing all controls for a specific context. Common examples include “Player” for general movement and “Menu” for interface navigation.
Only one action map can be active per player at any time. This prevents conflicts between different control schemes. The separation allows for clean transitions between gameplay states.
Customizing Bindings for Various Inputs
Each action within a map connects to physical controls through bindings. A single action like “Jump” can have multiple bindings for different devices.
The visual editor simplifies this process with a Listen button. Press any key or button to automatically assign it. This feature ensures accurate device recognition across platforms.
Developers can specify which control schemes use particular bindings. This prevents keyboard assignments from interfering with gamepad configurations. The system maintains clean separation between input methods.
Exploring Action Types: Button, Value, and Pass-Through
Unity’s input system offers three distinct action types, each designed for specific interaction patterns. Choosing the right type ensures that player commands behave exactly as intended during gameplay.
The Button action type handles single-press interactions perfectly. It triggers once when pressed and won’t activate again until released and pressed anew. This type works well for jumping or pausing a game.
Value action type supports continuous input reading for sustained actions. It constantly reports the current state of controls like analog sticks or held buttons. This enables smooth character movement as long as directional keys remain pressed.
Pass-Through type functions similarly to Value but handles multiple devices differently. Unlike other action types, it allows all connected controllers to trigger the same action simultaneously.
Unity performs disambiguation with Button and Value types to resolve conflicts between devices. Pass-Through skips this process, making it suitable for local multiplayer scenarios. Selecting the appropriate action type depends entirely on your specific gameplay needs.
Integrating Custom Input Components
Implementing responsive gameplay demands seamless integration between control assets and scene objects. Custom scripting elements serve as the critical bridge that transforms abstract definitions into tangible results.
Event-Driven Actions and Their Phases
Each player command progresses through three distinct stages during execution. The Started phase initiates when detection first occurs. This moment is perfect for beginning charging sequences or preparing abilities.
The Performed stage follows immediately, signaling successful completion. This phase triggers the main effect of the command. Finally, the Canceled phase activates upon release, enabling interruption logic.
Connecting Input Events to Game Objects
The Player Input component manages asset loading and event routing automatically. Set its Behavior property to “Invoke Unity Events” to expose customizable event fields.
Create specialized scripting elements with callback functions matching specific signatures. Register these functions through the Inspector by selecting appropriate handler options. This approach eliminates constant polling and reduces processing overhead significantly.
Callback contexts provide comprehensive event data including triggering devices and current values. This information enables sophisticated response behaviors across different control schemes.
Optimizing Game Performance Through Input Handling
The architecture used for processing player commands directly influences the computational efficiency of interactive applications. Modern event-driven approaches provide significant advantages over traditional polling methods.
Traditional polling-based checking executes hundreds of unnecessary conditional tests every second. This wastes valuable CPU cycles that could power game logic or rendering processes.
Event-driven processing only activates code when actual changes occur. This dramatically reduces overhead in titles with complex control schemes or multiple participants.
Careful callback structuring ensures minimal processing within event handlers themselves. Defer complex calculations to separate update cycles for optimal performance.
Proper action type selection contributes to efficiency. Use button types for discrete actions and reserve value types for genuinely continuous operations.
Memory optimization involves avoiding unnecessary object creation in callbacks. Reuse value types and minimize string operations during command processing.
Additional strategies include disabling unused action maps and leveraging built-in device filtering. These techniques help maintain smooth performance across different platforms.
Implementing Control Schemes for Player Inputs
Creating separate control configurations ensures each player can use their preferred device comfortably. This approach organizes how different hardware interacts with your project. It prevents conflicts between various control methods.
Control schemes define the framework for managing device configurations. They keep keyboard assignments separate from gamepad bindings. This separation maintains clean organization across different platforms.
Keyboard & Mouse vs. Gamepad Control Schemes
Keyboard and mouse setups typically require both devices as essential components. The keyboard handles movement while the mouse manages camera control. This combination works well for precise aiming in many titles.
Gamepad configurations support modern controllers with standardized layouts. Unity recognizes buttons by position rather than specific labels. This provides consistency across different manufacturer devices.
Some third-party controllers may register as joysticks rather than gamepads. Developers should consider adding separate joystick support. This ensures compatibility with older or unconventional hardware.
Setting devices as required means they must be connected for the scheme to work. Optional devices can be used but aren’t necessary. Most configurations work best with required device settings.
Multiple control schemes enable automatic detection of player preferences. They also support local multiplayer with different devices per participant. This flexibility enhances the overall gaming experience.
Polishing Input Responsiveness: Tips and Tricks
The perceived quality of a game is deeply tied to the immediate feedback from every button press. Even tiny delays can make controls feel sluggish. This directly impacts the player experience.
Techniques like input buffering store commands issued slightly too early. A jump action pressed just before landing will still execute. This creates a more forgiving feel.
Coyote time extends the window for performing an action after its opportunity seems lost. It compensates for human reaction times, making platforming feel fairer.
Fine-tuning is crucial. Adjust interaction settings for actions in the editor. Define hold durations or press points to match your game‘s pace perfectly.
Always pair commands with instant visual or audio cues. A sound or particle effect confirms the player‘s input was registered. This strengthens the connection between intention and result.
Test responsiveness across different devices and frame rates. A control method tied to frame updates may behave inconsistently. Ensuring a uniform feel is key to a polished product.
Troubleshooting Common Input System Issues
Even with a well-designed architecture, developers often face unexpected challenges during implementation. Quickly diagnosing and resolving these problems is key to maintaining a smooth workflow.
A frequent problem is commands not registering. This usually stems from an inactive action map or a missing event callback registration. Ensure the correct map is set as default in the player component.
Device recognition issues can also occur. Third-party controllers might not be identified as the expected device type. Review your control scheme configuration to confirm all required devices are properly set.
Binding conflicts happen when multiple actions respond to the same command. This requires a review of your configuration. Reorganizing actions across different maps often resolves the conflict.
If generated C# code does not update, check that the asset was saved. You may need to manually click “Generate C# Class” in the inspector. Callbacks firing multiple times indicate incorrect phase checking in your event handlers.
For performance problems, ensure you are using the correct action type. Avoid expensive operations within callback methods. The Input Debugger window is an invaluable tool for real-time diagnosis of these common issues.
Best Practices for Input Management in Unity Games
Professional game development requires mastering advanced configuration techniques. These methods ensure your projects remain maintainable as complexity grows. Proper organization separates amateur prototypes from polished releases.
Establish consistent naming conventions for all components. Clear labels for maps and actions improve code readability. This practice becomes crucial when working in teams or returning to projects after months.
Utilizing Composite Bindings Effectively
Composite bindings transform multiple discrete commands into unified values. They’re perfect for keyboard movement where separate keys combine into directional input. This approach creates intuitive control schemes players expect.
Centralize your configuration through dedicated controller classes. This separation keeps gameplay logic clean and testable. It also makes updating control schemes much simpler during development.
Create reusable assets that work across multiple projects. Consistent control schemes help players feel comfortable with your games. Documentation explains why specific configurations were chosen for future reference.
Always implement rebinding options for player customization. Testing across all supported devices prevents post-launch issues. Leverage sample projects to accelerate development with proven patterns.
Additional Resources for Mastering Input Systems
Developers seeking to deepen their expertise in control architecture will find numerous educational resources available. These materials help bridge the gap between basic implementation and professional mastery.
Unity Courses and Tutorials
Specialized training programs take developers from foundational concepts to advanced implementations. Comprehensive courses demonstrate how to create new projects with robust control schemes.
The official documentation provides technical references covering every aspect of the package. Unity Learn offers free structured tutorials with hands-on exercises.
Community forums and YouTube channels feature practical demonstrations from experienced educators. These resources show how to implement one action across multiple devices effectively.
Sample projects available through GitHub repositories demonstrate production-quality implementations. The Package Manager includes working examples of common scenarios.
Staying current requires monitoring official updates and release notes. Experimenting with create new test projects builds expertise through safe practice.
Conclusion
Effective command processing stands as a cornerstone of professional game development. Mastering modern control architectures directly shapes player satisfaction and project quality across all platforms.
The transition from legacy solutions to contemporary frameworks offers substantial advantages. These include superior performance, flexible device support, and maintainable codebases that scale with project complexity.
Understanding the component hierarchy enables sophisticated implementations. Event-driven architectures reduce overhead while ensuring responsive interactions.
Investing time in learning these techniques pays long-term dividends. Developers gain the ability to create polished experiences that adapt to diverse control preferences.
This knowledge positions creators to build engaging projects with clean, scalable foundations. The result is better games and more satisfied audiences.
FAQ
What is the main difference between Unity’s Legacy Input Manager and the new Input System?
How do I install the new Input System package into my project?
What is an Action Map and why is it useful?
What are the different Action Types available?
How can I make my game’s controls feel more responsive?
What are Composite Bindings and when should I use them?

Game developer with over 10 years of professional experience specializing in the mobile sector. George’s journey began with a passion for indie development, leading him to contribute to several successful mobile titles, including the critically acclaimed puzzle-platformer ChronoShift and the top-down strategy game Pocket Empires.