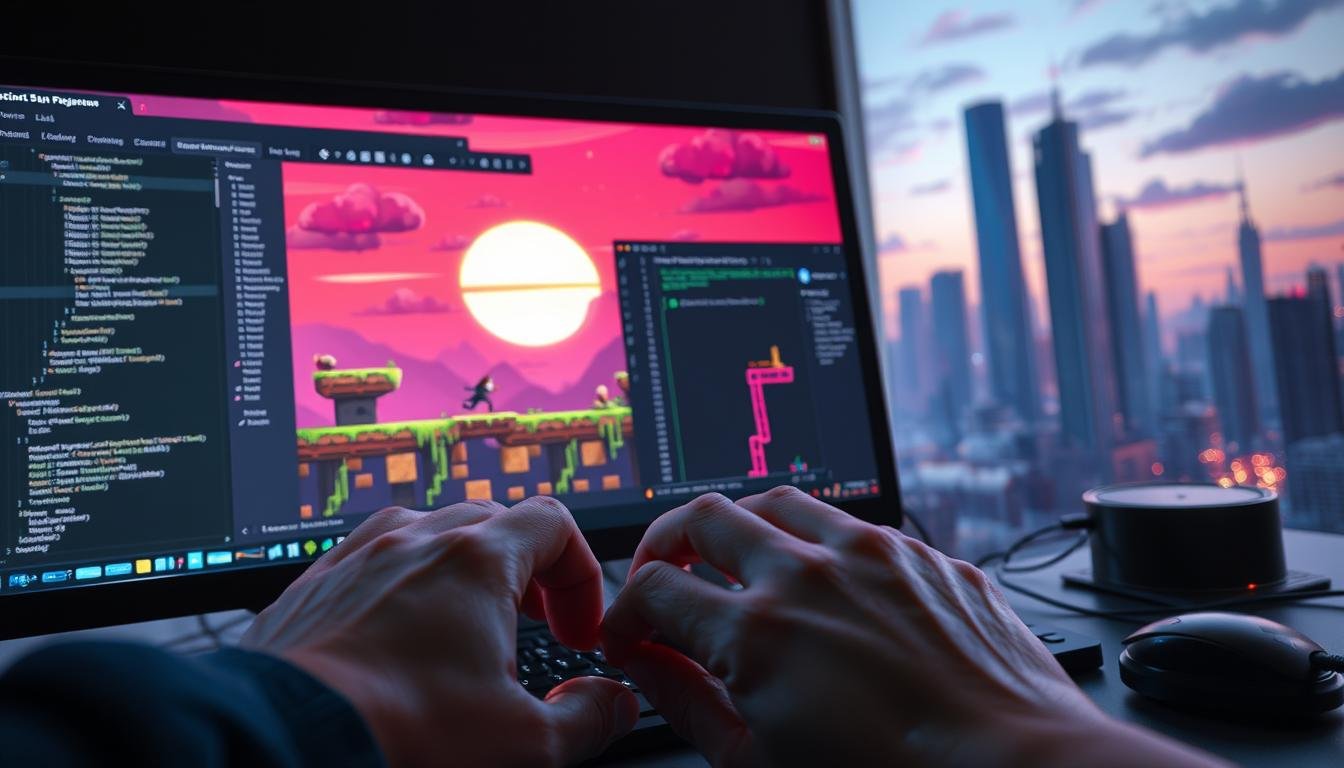
Welcome to this comprehensive guide where we’ll walk through creating player movement for your games. Whether you’re building a platformer, adventure game, or first-person experience, mastering movement mechanics is essential.
This tutorial covers everything from understanding what a character controller does to implementing movement, physics, and jump mechanics. You’ll learn how to set up your environment with platforms and player objects.
We’ll write the necessary scripts for movement and enhance your setup with gravity and jumping functionality. By the end, you’ll have a fully functional system that responds to player input and respects collision boundaries.
This guide assumes you have the game engine installed and basic interface knowledge. Don’t worry—we’ll explain each step clearly so you can follow along confidently.
The principles covered work for 2D platformers, 2.5D side-scrollers, or 3D adventures. You’ll gain a solid foundation for character movement in your projects.
Key Takeaways
- Learn to create fundamental player movement systems
- Understand how to implement physics and collision detection
- Master gravity and jumping mechanics for responsive gameplay
- Set up environments with platforms and interactive elements
- Create scripts that handle user input effectively
- Build a foundation that works across different game types
- Develop skills applicable to various game development projects
Introduction to the Unity Character Controller
To achieve precise control over your player, we’ll utilize a dedicated movement tool. This specialized component is perfect for games where you want direct command over how the player interacts with the world.
Overview of Character Controllers in Unity
This powerful component handles movement constrained by collisions. It does not rely on the full physics system. Instead, it moves only when you tell it to, using a specific function.
The tool automatically checks for walls and floors. Your player will not pass through solid objects. This gives you complete authority over all physical interactions in your scene.
Benefits Over Rigidbody-Based Movement
Choosing this method over rigidbody physics offers significant advantages. You get predictable and consistent behavior. Your player won’t be pushed around by external forces unless you program it.
This approach is much simpler to tune for actions like jumping. You avoid the unpredictability of momentum and friction. It provides a streamlined solution that is easier to debug.
This component-based approach is a best practice for many game types. You can add it to any object and start coding movement right away. It saves you from complex configuration of mass and drag properties.
Setting Up Your Unity Environment and Player
Let’s build the world where your game action will unfold by setting up the environment and player object. A clean, organized scene makes development smoother and helps your project scale as you add more elements.
Creating Platforms and Organizing Your Level
Start by creating four cube objects with dimensions set to 5 units wide, 1 unit tall, and 1 unit deep. These will serve as your platforms. Position them with Z-axis set to 0 for consistent 2.5D gameplay.
Create a Prefabs folder in your Project window and save your first platform there. This allows easy reuse throughout your game. Duplicate this platform three times to complete your basic level layout.
Organization is key for manageable projects. Create an empty game object called “Level” or “Environment” in your Hierarchy. Place all platform objects under this parent object. This keeps your scene tidy and makes object management much easier.
Configuring the Player Object and Components
For your movable avatar, create a capsule in the Hierarchy and name it “Player.” Set its tag to “Player” for proper identification in collision systems. This simple step helps Unity recognize your main actor.
Add the essential movement component to your Player capsule through the Inspector window. This component handles collision detection and movement constraints automatically. Position your player slightly above the first platform for proper landing testing.
Visual distinction helps during testing. Create colored materials—perhaps red for your player and gray for platforms. Clear visual separation makes debugging and gameplay testing more efficient. Consider adding collectable objects early to expand your game systems.
Coding the Fundamental Movement Script
Bringing movement to your game requires writing the scripts that process player commands. This is where your player transforms from a static object into an interactive game element.
Start by creating a Scripts folder in your Project Window. This keeps your code organized. Create a new C# script named “Player” or “PlayerMotor” and attach it to your Player object.
Implementing Horizontal Movement with Input.GetAxis
Open your script in your code editor. Declare a private variable to store your movement component reference. In the void Start() method, initialize this reference using GetComponent.
This method runs once when the game starts. It caches the component so you don’t need to look it up every frame.
Implement horizontal movement in your Update() method. Capture horizontal input using Input.GetAxis(“Horizontal”). This automatically maps to A/D keys or arrow keys.
The method returns values between -1 and 1. Create a Vector3 direction variable with the x component set to your input value. Keep y and z at 0.
Defining Speed, Direction, and Vector3 Velocity
Call the Move method with your direction multiplied by Time.deltaTime. This ensures frame-rate independent movement. Your player moves smoothly regardless of computer performance.
Enhance your movement code by separating direction and velocity concepts. Create a serialized float variable for speed. Set it to 5.0f for easy inspector adjustment.
The serialized speed variable appears in the Inspector when you select your Player object. This lets you experiment with different movement speeds during playtesting.
Calculate velocity as a Vector3 by multiplying your direction by your speed value. Pass this velocity multiplied by Time.deltaTime to the Move method.
Test your horizontal movement script by entering Play mode. Use A/D keys or arrow keys. Your player should move left and right smoothly while respecting collision boundaries.
Enhancing Your Controller with Physics and Jump Mechanics
Taking your movement system to the next level involves adding physics-based behaviors like falling and leaping. These elements make gameplay feel natural and responsive.
Applying Custom Gravity and Unity Physics Settings
Make your avatar fall realistically by implementing gravity. Create a serialized float variable for gravity strength that you can adjust in the Inspector.
Check if your player is grounded using the isGrounded property. When airborne, subtract your gravity value from the vertical velocity each frame.
You can use custom values or tap into the engine’s physics system. The global settings are found in Edit→Project Settings→Physics.
Implementing Jump and Double Jump Functionality
Add jumping by creating a jump height variable. Detect when the player presses the jump button using Input.GetButtonDown(“Jump”).
When grounded and the button is pressed, set the vertical velocity to your jump height value. This creates an immediate upward launch.
The interaction between jump impulse and gravity produces natural arcs. For advanced movement, track jump counts to enable double jumps.
Test by walking off edges and pressing jump. Adjust values in the Inspector to fine-tune the feel of your movement system.
Wrapping Up Your Unity Character Controller Setup
Your digital actor can now navigate the virtual world with precision and responsiveness. You’ve built a complete movement system that handles walking, jumping, and collision detection seamlessly.
The modular design allows easy expansion. You can add advanced features like double jumps or wall-running as your game evolves. Serialized variables in the Inspector let you fine-tune movement feel without code changes.
Consider enhancing visuals with custom models from asset stores. The component handles complex collisions automatically, saving development time.
This foundation works across many game genres. Keep testing and iterating to perfect your player’s movement. Great control systems make memorable gaming experiences.