Welcome to this hands-on guide for building an exciting first-person shooter experience. We will walk through creating a complete gameplay prototype with core mechanics.
This tutorial is perfect for developers eager to dive into action game development. You will learn the essential systems that make shooting games engaging and fun to play.
Whether you are starting out or have some experience, you will find practical techniques here. We break down complex concepts into clear, manageable steps.
Our approach ensures the development process is both accessible and enjoyable. You will gain experience with powerful tools used by professional creators.
By the end, you will have a fully functional prototype. This foundation is perfect for expanding into your own unique shooting game projects.
Key Takeaways
- Learn to implement core shooting mechanics in a first-person perspective.
- Understand how to create a responsive reload system for weapons.
- Build a dynamic health bar that provides clear visual feedback to the player.
- Gain practical experience with essential game development tools.
- Acquire skills that form the foundation for more complex action games.
- Develop a prototype you can customize and expand upon for future projects.
Introduction to the Unity FPS mini demo Project
A well-structured example project is the cornerstone of any successful game development endeavor. This sample, originally built on a 2018 version of the engine, remains an incredibly useful resource. While no longer actively updated, it packs a wealth of practical information.
The team behind it aimed to test new features and provide a solid foundation. Developers can bootstrap their own work on top of it or extract useful bits of code. It’s a fantastic way to see how professionals organize a complex project.
This quick start will help you understand the core concepts you need to master. We focus on player mechanics, weapon systems, and visual feedback. Learning from this sample gives you insights into industry-standard approaches.
Our development process emphasizes understanding fundamentals first. We build complexity gradually so you grasp each concept before moving forward. This hands-on approach ensures theory meets practice effectively.
By examining an experienced team’s work, you start building good habits. These habits will serve you throughout your entire game development career. This introduction sets the stage for a practical and rewarding learning experience.
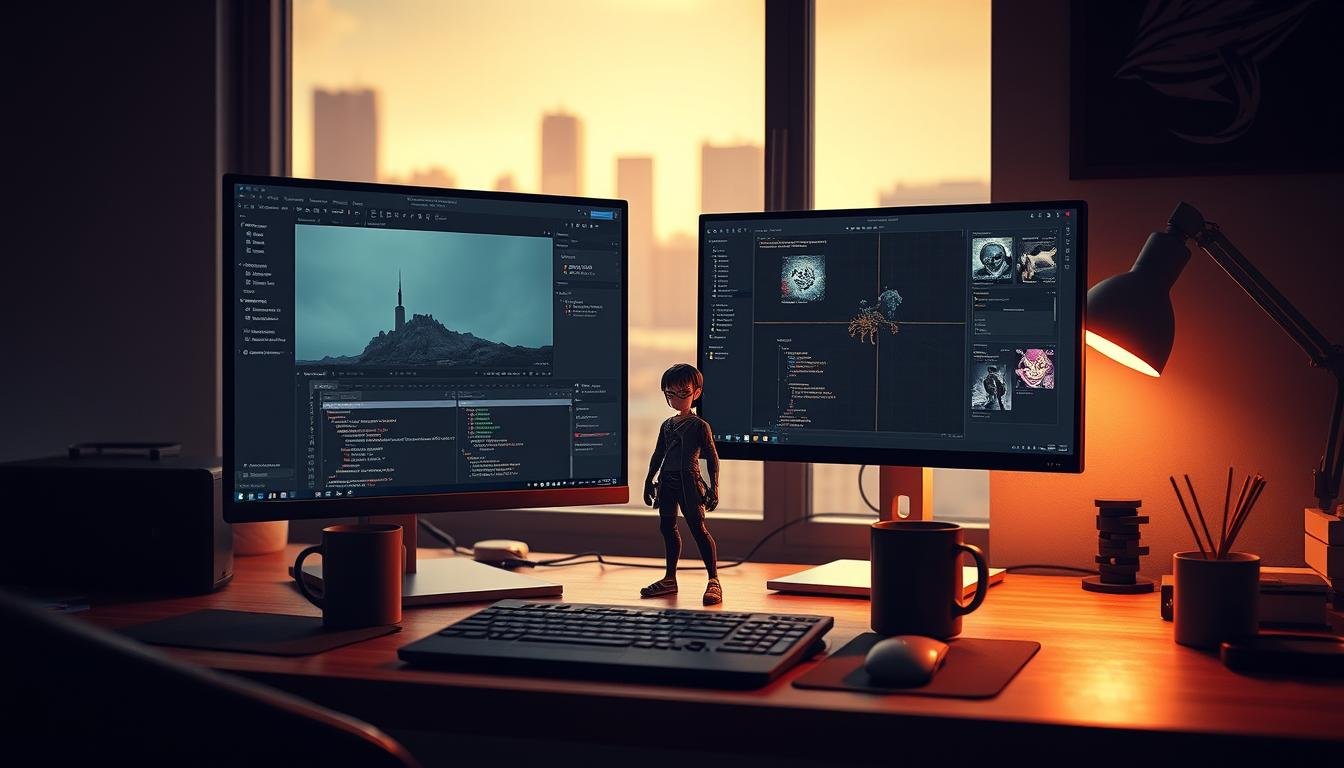
Setting Up the Unity Environment
Before diving into coding, establishing a solid development environment is essential. Choosing the right software version matters greatly for compatibility and feature access. Stable releases like 2018.3.8f1 or 2020.3.12f1 LTS work well for action game projects.
The first time you launch the unity editor, be prepared for some waiting. Importing assets and initializing systems takes time, especially with 3D graphics. This is completely normal and worth the patience.
During installation, include Windows standalone support for your target platform. Consider adding Linux support if you plan to build headless servers later. This foresight saves significant time during deployment.
The editor interface might appear complex at first time exposure. However, its customizable nature allows you to arrange windows for optimal workflow. Taking moments to explore the layout pays dividends later.
Ensure adequate disk space during setup, as projects grow substantially with assets and scenes. Proper environment preparation prevents technical roadblocks and keeps your focus on creative development.
Project Setup and Asset Organization
Properly structuring your project’s files and folder hierarchy from the start prevents countless issues down the line. This initial step is crucial for a clean and manageable codebase.
A logical folder structure helps you and your team find specific file types quickly. It also makes version control much smoother.
Unity Project Folder Structure and Git LFS Essentials
When you create a new project, the engine generates core directories. Your main job is organizing your custom assets within this framework.
For the sample project, a special note is essential. You must clone it using Git with LFS enabled. Downloading a ZIP file will not work due to the large assets.
The repository size is substantial, nearly doubling after cloning. This is normal for projects using Git LFS to handle large binary files.
Importing Assets and Configuring the Editor
The next step is importing your game resources. Pay close attention to texture and model settings during this process for optimal performance.
An important note for this specific demo: after the initial import, search for “Firstperson_Projection” shaders and reimport them. This fixes a known bug.
This quick start approach to setup ensures a solid foundation. Taking time here makes the entire development workflow more efficient. A well-organized project is easier to debug and expand.
Developing FPS Mechanics in Unity
Building responsive controls is the heart of any engaging action game. This step focuses on creating the core interaction between the player and the virtual world.
We start by constructing the character’s physical presence. This foundation ensures everything feels solid and believable.
Player Movement and Camera Controls
First, create a capsule object in your scene’s Hierarchy. This object becomes your character’s body. Position it correctly to start on the ground in your level.
Attach the main camera to this capsule as a child object. This link makes the camera follow the player naturally. It’s a fundamental setup for any first-person perspective.
Next, add two crucial scripts. Create a “MouseLook” script for the camera to handle horizontal and vertical rotation. This allows for smooth aiming.
Add a “PlayerMovement” script to the capsule for WSAD controls and jumping. This script translates keyboard input into in-game motion.
Implementing Shooting and Weapon Handling
To make the character interact with the world realistically, add physics. Use the drag drop method to add a Rigidbody component.
This component introduces gravity and forces. Setting constraints on the Rigidbody is a key step. It stops the character from tipping over accidentally.
This modular approach is a strength of the unity game engine. You build a robust fps controller by combining these components. Test and adjust values like movement speed and mouse sensitivity until the game feels just right.
Implementing Reload and Health Bar Systems
Now we reach the critical systems that make combat feel strategic and tense. These mechanics add depth to your shooting game by forcing resource management.
The reload system requires careful code planning. Your script must track current ammo, magazine capacity, and reserve ammunition. Each shot or reload action updates these values.
Health bars provide vital feedback about the player‘s condition. This visual component decreases as damage occurs. It can regenerate or restore through pickups.
This step involves creating UI elements for both systems. You’ll drag drop prefabs onto your canvas. Position them where they’re visible but not intrusive.
The reload functionality listens for input like the R key. It checks if reloading is possible before playing animations. The code then updates ammunition values accordingly.
Health management requires a separate component script. It handles damage calculation and applies it when the player is hit. This creates immediate visual and audio feedback.
Connecting these visual elements to your game logic ensures real-time updates. Balancing these systems through testing creates fair but challenging gameplay.
Integrating Essential Unity Components
Bringing your game world to life requires connecting code to visual elements. This integration transforms static objects into interactive experiences that respond to player actions.
The engine’s component-based architecture makes this process intuitive. You attach behavior scripts directly to game objects through simple drag-and-drop operations.
Script Integration for Game Behavior
Start by creating an empty game object named “Gun” in your scene. Set its transform values to position it correctly relative to your player character.
Right-click on the Gun object and add a 3D Cube as a child object. This becomes your weapon’s visual representation. Adjust the cube’s transform to create the proper gun shape.
Now attach your GunScript component to the Gun object. This script will manage all shooting functionality. The Inspector panel shows all public variables from your code file.
Utilizing Editor Tools and Prefabs
Set the script variables directly in the editor interface. Assign values for damage, fire rate, and ammunition capacity without modifying your source code.
For camera assignment, use drag-drop to select the MainCamera from the PlayerCapsule object. Create two empty child objects named “SpawnPoint” and “BulletSpawnPoint” under your Gun.
Assign these reference points to corresponding variables in your GunScript. This organization keeps your scene hierarchy clean and logical. Prefabs allow you to reuse this configured weapon across multiple scenes.
Understanding this relationship between script code and editor-assigned variables is fundamental to efficient development. Changes in the editor override default values, providing flexibility for different object instances.
Establishing Multiplayer and Networking
Taking your creation from a solo experience to a shared world marks an exciting milestone. Multiplayer functionality transforms your game into a dynamic space where multiple players can interact simultaneously.
This shift requires careful planning and proper testing environments. The setup process ensures all participants see consistent action and fair gameplay.
Setting Up Standalone Players and Servers
Begin by accessing the Project Tools window in your development environment. Here you can configure essential settings for multiplayer testing.
Select Multiplayer mode and choose your starting level from available options. Set the number of client instances you want to simulate for testing purposes.
The system launches separate processes when you start testing. One runs as a headless server handling game logic. Another operates as a client that connects automatically.
This client-server architecture keeps gameplay authoritative and prevents cheating. It also helps identify networking issues before public release.
Testing across different levels reveals performance variations. Smaller maps might support more players than complex environments.
Proper implementation ensures smooth experiences even with imperfect network conditions. Your players will appreciate the consistent and fair gameplay.
Leveraging New Technologies in Unity
The landscape of interactive entertainment is being reshaped by advanced rendering pipelines and efficient programming paradigms. Adopting these modern approaches can significantly enhance your projects.
Contemporary development environments incorporate sophisticated systems that deliver stunning visual results. These technologies work together to create immersive experiences.
HD Render Pipeline and Entity-Component System (ECS)
The High Definition Render Pipeline transforms visual quality with physically-based rendering. This system creates realistic lighting and material responses that elevate production values.
HDRP is specifically designed for high-end platforms. It provides advanced features that make scenes come alive with stunning accuracy.
The Entity-Component System represents a fundamental shift in architectural thinking. This data-oriented approach processes thousands of entities with exceptional performance.
Understanding ECS is increasingly valuable for action titles. These games often manage numerous simultaneous elements efficiently.
The hybrid approach allows gradual adoption of new systems. Developers can optimize performance-critical components while maintaining familiar workflows.
Mastering these technologies demonstrates current industry knowledge. This skillset positions creators for successful careers in interactive media.
Game Extension Integration with Muxy and MEDKit
Modern game development extends beyond the screen to include audience participation through streaming integrations. This creates engaging experiences where viewers become active participants rather than passive observers.
The integration framework connects your project with streaming platforms using specialized libraries. GameLink handles the game-side communication while MEDKit manages the extension interface.
Vue.js Components and Extension Setup
Each extension page uses Vue.js components to organize the user interface. The configuration page handles broadcaster settings while the overlay page displays viewer interactions.
Setting up requires copying environment files and installing dependencies. You configure the client ID field to match your registered extension credentials.
The sample code provides a solid foundation for customization. Each component follows best practices for separation of concerns.
Understanding GameLink Authentication Flow
The authentication process establishes secure communication between game and extension. Broadcasters enter a PIN from the configuration page into their game client.
This connection allows real-time data exchange. The game sends state updates while receiving viewer interactions through the extension.
The provided example demonstrates this workflow clearly. You can study the file structure to understand how each component interacts.
Real-Time State Management and Data Tracking
The heartbeat of interactive streaming lies in how effectively your game communicates changing conditions to participating viewers. Real-time state management ensures everyone sees the same information simultaneously.
This system tracks game information using key-value pairs stored as JSON objects. Different scopes provide flexibility for various streaming scenarios.
Using JSON Patching to Update Game State
JSON patching optimizes network efficiency by transmitting only changed values. Instead of sending the entire state object, it sends small updates called deltas.
The sample implementation uses a PatchList to batch multiple changes together. This approach reduces network overhead when tracking multiple statistics.
Timer-based synchronization balances real-time updates with performance. Updates occur periodically rather than every frame.
Proper code structure separates initialization from updates. This keeps your file organization clean and maintainable.
The same patterns scale from simple counters to complex game data. Understanding these principles benefits many multiplayer scenarios beyond streaming.
Implementing Polling and Viewer Interaction
Transform your audience into active collaborators with interactive polling systems. This feature turns passive watching into a shared decision-making experience.
In your game code, a simple button click can start the process. The `OnClickStartPoll()` function creates the poll, defines the options, and sets a timer.
This step broadcasts a “start_poll” event. The extension’s overlay page listens for this event. It then displays the poll with clear choice buttons for viewers.
Your code manages key variables like vote counts and the remaining time. These values update in real-time, creating excitement.
When the timer ends, the game collects results and applies the winning choice. This sample shows how a single section of code can create dynamic, viewer-driven gameplay.
Performance Tuning and Debugging Strategies
Mastering performance optimization techniques ensures your action game runs smoothly across diverse hardware configurations. This section covers essential strategies for identifying and resolving performance bottlenecks.
Profiling tools help you understand where your game spends processing time. They reveal exactly how much time goes to rendering, physics, and script execution each frame.
When working with older engine versions, you might encounter specific technical limitations. Due to a bug in Unity 2018.3, the maximum number of shader keywords can be exceeded.
If you see these errors, close and reopen the development environment before building again. While relatively harmless, these errors can cause graphical artifacts as some shaders receive wrong keywords.
The first time building asset bundles and standalone players takes significant time. This occurs because all shaders must be compiled from scratch during this initial process.
Effective debugging requires systematic testing of core mechanics. Pay close attention to player movement, shooting accuracy, and collision detection.
Always take note of console warnings and errors during development. Small issues can compound into major problems that become harder to diagnose later.
Memory profiling helps catch leaks where objects aren’t properly cleaned up. This prevents games from gradually consuming more RAM until performance degrades or crashes occur.
Best Practices for Future FPS Game Projects
The true test of any development effort comes when you need to maintain and expand your creation over time. Establishing solid practices early ensures your shooter project remains manageable as it grows.
Reference projects provide excellent learning opportunities. You can extract useful bits of code and adapt proven patterns to your own work.
Code Optimization and Maintenance Tips
Clear, self-documenting code is essential for long-term success. Write code that other developers can understand without extensive investigation.
Starting new projects on current engine versions provides access to the latest features and fixes. This prevents building on outdated foundations.
Consider level design principles specific to shooter games. Sightlines, cover placement, and movement flow create balanced combat spaces.
Regular refactoring sessions help clean up technical debt. Update deprecated APIs and restructure code as requirements evolve.
Building modular systems makes adding or modifying mechanics easier. This approach prevents cascading changes throughout your entire project.
Wrapping Up Your Unity FPS mini demo Journey
You’ve reached the finish line of your action game development adventure, equipped with practical skills that will serve you well in future projects. Your completed prototype showcases essential mechanics that form the core of engaging interactive experiences.
The knowledge you’ve gained extends far beyond this specific project. The development patterns and organizational strategies apply to various genres. You can adapt these bits of wisdom to create unique shooter experiences or other interactive worlds.
Remember that game creation is an iterative process. Your first person perspective project will evolve through testing and feedback. Each person who plays your creation provides valuable insights for improvement.
Continue building on this solid foundation. The Unity ecosystem offers endless resources for growth. Your journey in fps development has just begun, with exciting possibilities ahead.